Resource table
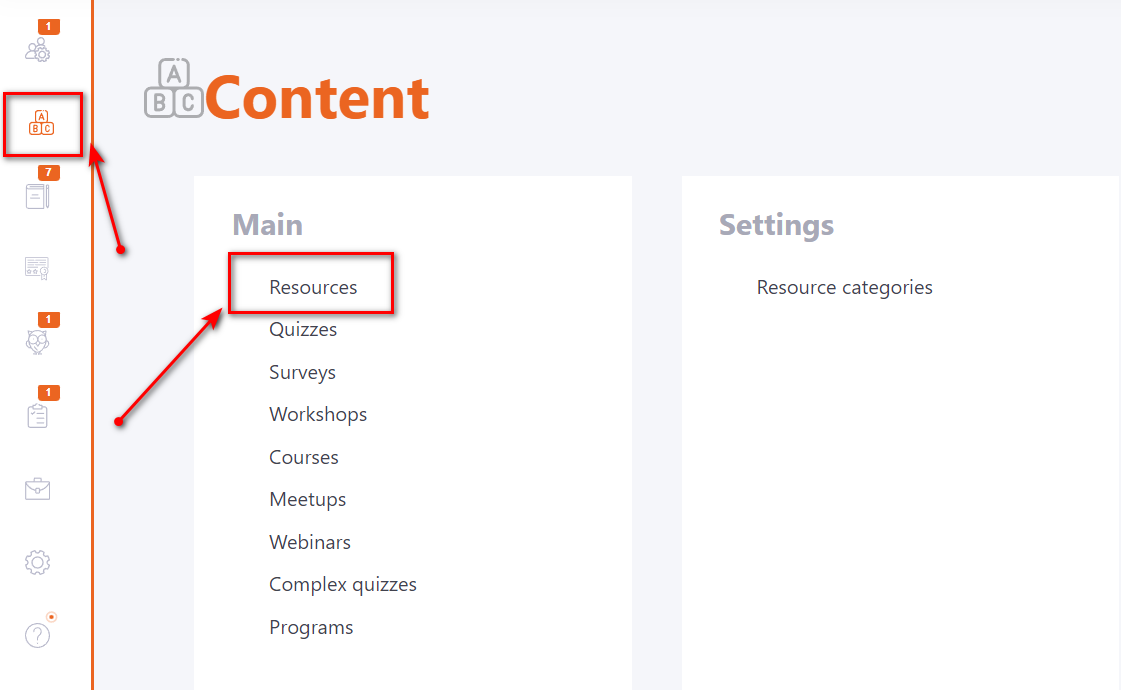
To access the table with resources, enter the Content menu, Resources menu item :
The resource table is presented in standard form.
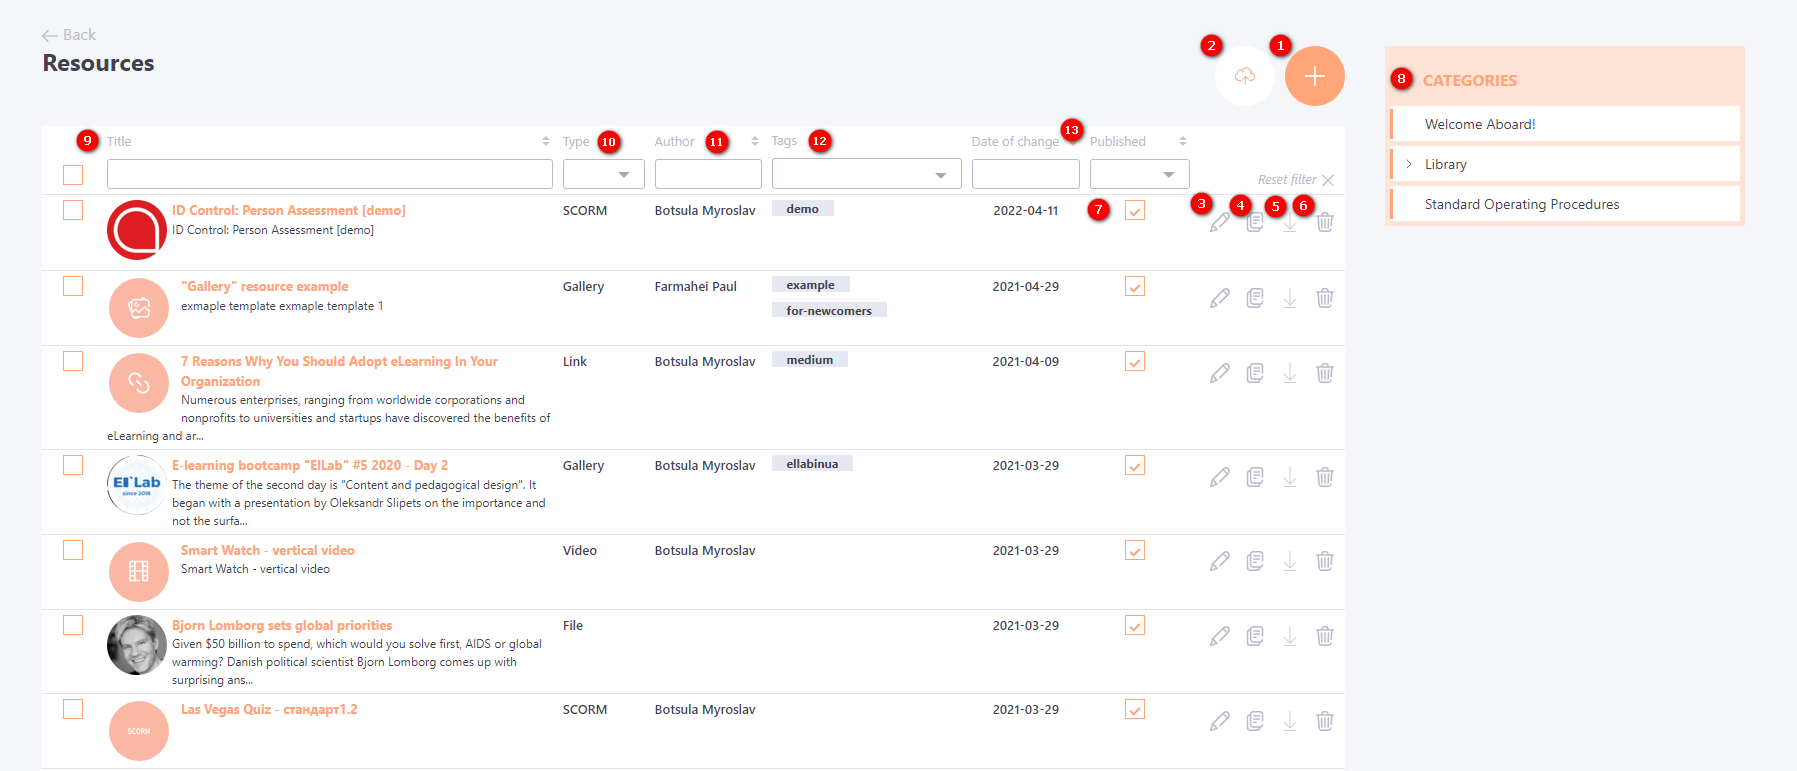
The buttons on the Resources page can be used to perform the following actions:
-
Add (1) - clicking the button will open the resource creation page. For more information visit Creating Learning Resources
-
Import resource (2) - you can import an archive with a previously exported resource into the system
-
Edit (3) - button for switching to the resource editing page. Any resource can be edited after it has been saved.
Note that if the resource is used in tasks or opened in the knowledge base, it will be automatically updated for users after changes are made. -
Duplicate (4) - resource backup creation.
-
Export (5) -saving an archive of the resource, which can later be imported into the system.
-
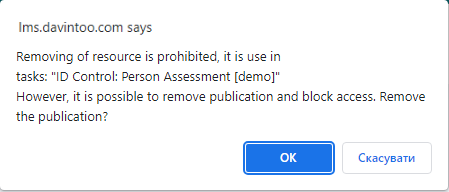
Remove (6) - after clicking on the remove button, a window opens to confirm the deletion. If the resource is used in courses, programs or tasks, it cannot be deleted, the system offers to remove the publication instead of deleting:
- Published (7) - after creating a resource, it must be published. Only published resources can be used in courses, programs, tasks, and the knowledge base.
- Categories (8) - this block displays all created Resource categories. If you select any Category, the table will contain a list of Resources that belong to the selected Category. Categories are used for resource allocation and quick search in the Knowledge Base.
You can use the filtering and sorting tools in the table to find the desired Resource more accurately:
- Title (9) - filter and sort by resource name.
- Type (10) - filter by resource type.
- Author (11) - filter and sort by author's name.
- Tags (12) - filter by tags.
- Date of change (13) - filter by the last date the resource was changed. You can filter the resources that have been changed in a certain period. There is also a default sorting from newest to oldest.
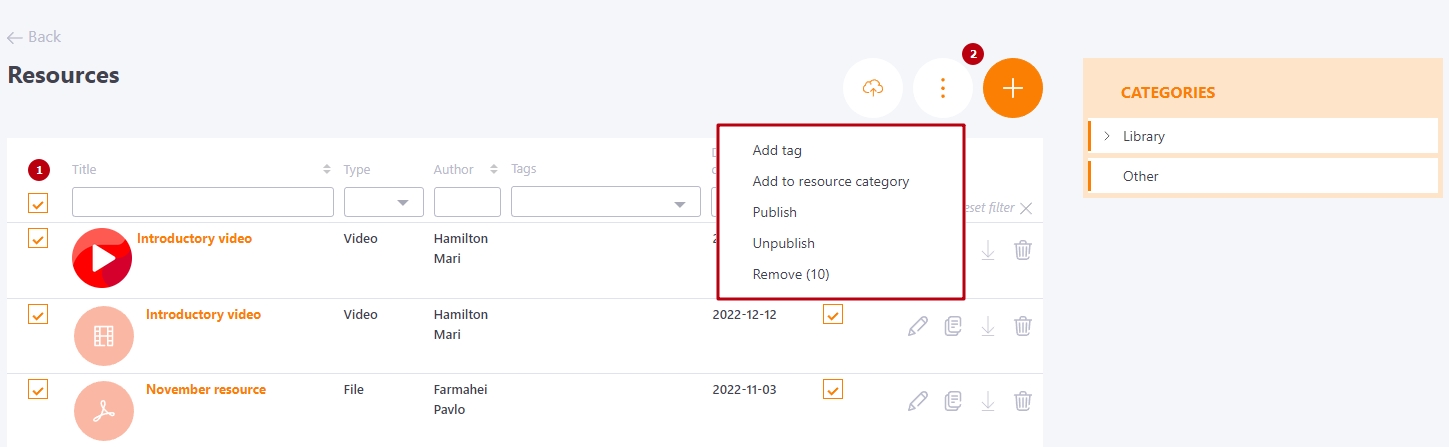
Group operations with resources
If you click the filtered resources checkboxes (1), the Actions (2) button appears in the right corner.
Using the Actions menu, you can:
- Add tags for resources
- Add a resource to the category
- Publish or unpublish several resources
- Remove selected resources
Resources icons
The images in the table next to each resource indicate its type and format (resource type icons):
| Format | Standard icon | Resource study control |
|---|---|---|
| Page, Adaptive Page |  |
+ |
| File - mp3, aac |  |
+ |
| File - jpg, png, jpeg, bmp, gif, |  |
- |
| File - pdf |  |
+ |
| File - swf |  |
- |
| File - zip, rar, 7z |  |
- |
| File - doc, docx |  |
- |
| File - xls, xlsx |  |
- |
| File - epub |  |
+ |
| File - ppt, pptx, pps, ppsx |  |
- |
| Video - mp4, mov, mkv, ogv, ogg, flv, avi, wmv |  |
+ |
| Link |  |
- |
| HTML page |  |
- |
| Scorm |  |
+ |
| Gallery |  |
+ |
| Presentation |  |
+ |
While creating resources, you can load a cover for each resource - it will be displayed instead of the standard icon.