Wiki Markdown
Headings
To create headings on Wiki pages you need to use the # symbol. In total, you can create 6 levels, each of which is determined by the number of # symbols. Accordingly, for the first level, one # symbol is enough, and for the sixth level - six # symbols in a row. A space must be inserted between the characters and the title text.
# Heading 1
## Heading 2
### Heading 3
#### Heading 4
##### Heading 5
###### Heading 6
For example, it looks as follows:
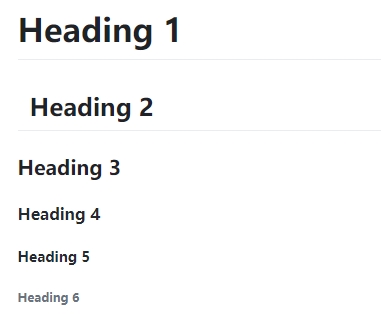
You can also create a header using the button in the Wiki formatting panel. This way you can create a third level heading only.
There is another way to create a title. You need to set three or more characters in the next ribbon after the text ribbon. This way you can create a second level heading:
Second level heading
---
Paragraphs of text, quotations
The Wiki page editor has limited tabbing capabilities. The available functions include moving the text to a new line and skipping one line. This can be done by pressing the Enter button. If you press it again, the cursor will move to a new line, if you press it 2 times, a space between lines will be added and the cursor will also move to a new line.
You can also add horizontal lines to highlight text. For example, to highlight headings or footer - the transition between pages at the end of each article.
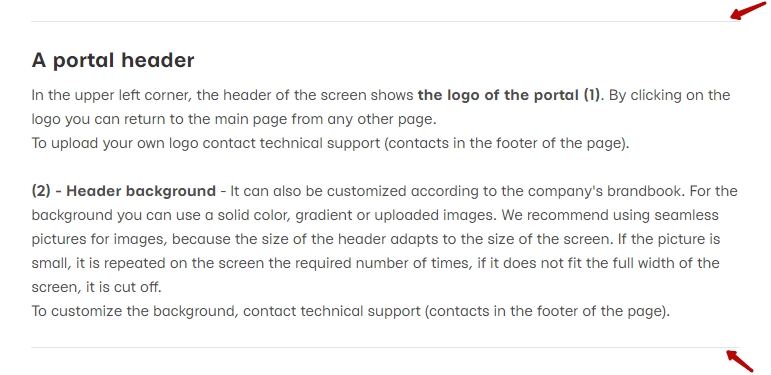
Such lines are added using symbols. The number of characters must be 3 or more.
---

***
As a result, the lines will be visible
You can create a quote using the format button on the toolbar in the Wiki editor or using the symbols.
- insert text as a quote
> QuotationQuotation
Quotations can be with nesting levels. An example of organizing such a quotation:
> Collaborator is already used for:
>> news portals with working tools
>>> online stores with employee training system
Collaborator is already used for:
news portals with working tools
online stores with employee training system
Font formatting
When creating or editing Wiki pages, a toolbar is available to format the font.

Using the toolbar, you can make:
- bold font
- italics
- third level heading (find more in Headings)
- bulleted list (find more in Numbered and bulleted lists)
- numbered list
- insert text as a code
- insert text as a quotation
The same formatting can be set manually using the symbols:
1) Bold text
** Bold text**2) Italics
_Italics_3) Text in the form of code
`Text in the form of code`4) > Quotation
> QuotationHyperlinks, links, autolinks
One of the features of Wiki functionality is the connection between the created articles. This connection is carried out by means of hyperlinks. To create hyperlinks, special markup is used in the editor.
Internal links, i.e. links to existing Wiki resources, are created depending on the context of the content of the new article.
For instance, when editing a new article, you need to write a text and insert a link to the Wiki manual into the text. The link is the exact title of the page. In this case, the title of the link coincides with the title of the article, so insert or write the text of the link in double square brackets.
In the page editor it looks like this:
The [[Wiki manual]] helps many people to work with the WikiIn the preview you can see:
The [[Wiki manual]] helps many people to work with the Wiki
If everything is done correctly, the created link is highlighted in blue and when clicked takes you to the page Instructions for working with Wiki
If the link text differs from the page name, you need to create a link using the URL of the required Wiki page. In square brackets specify the name of the link [] and after without space in parentheses () insert the link to the page. For example:
If you have any questions when creating a new Wiki article, you can find the answers in [Wiki manual](http://edu.davintoo.com/wiki/%D0%A0%D1%83%D0%BA%D0%BE%D0%B2%D0%BE%D0%B4%D1%81%D1%82%D0%B2%D0%BE%20%D0%BF%D0%BE%20%D1%80%D0%B0%D0%B1%D0%BE%D1%82%D0%B5%20%D1%81%20Wiki)In the preview:
If you have any questions when creating a new Wiki article, you can find the answers in Wiki manual
Links to external resources are created in a similar way. To do this, you need to use external URLs.
Numbered and bulleted lists
You can create numbered and bulleted lists using the formatting buttons and using symbols manually.
For bulleted lists, you must specify one of the following characters at the beginning of the line: (*), (-) or (+)
* Bulleted list 1
- Bulleted list 2
+ Bulleted list 3
As a result, the list will look like this:
- Bulleted list 1
- Bulleted list 2
- Bulleted list 3
A bulleted list can have several nesting levels. To create such a list, it is enough to place all records at the same distance from the beginning of the line.
Here is an example of creating a multi-level bulleted list using formatting in the text.
- _Training resources:_
   - _is any file - video;_
      - _video_
      - _document_
      - _archive_
      - _other_
   - _is a page created using the WYSIWYG editor;_
   - _is a hyperlink to a resource on the Internet;_
   - _is a uploaded HTML site;_
   - _it is a SCORM course._
- _Quizzes._
- _Tasks._
- _Forum._
- _Wiki._- Training resources:
- is any file - video;
- video
- document
- archive
- other
- is a page created using the WYSIWYG editor;
- is a hyperlink to a resource on the Internet;
- is a uploaded HTML site;
- it is a SCORM course.
- is any file - video;
- Quizzes.
- Tasks.
- Forum.
- Wiki.
For numbered lists, digits with a period or bracket are placed at the beginning of the line. For example, in edit mode it is:
1. Numbered list 1
2) Numbered list 1
On the Wiki pages it is:
- Numbered list 1
2) Numbered list 1
You can also use the buttons on the Wiki page formatting toolbar. To do this, select the required part of the text and click on one of the buttons: unordered list or ordered list
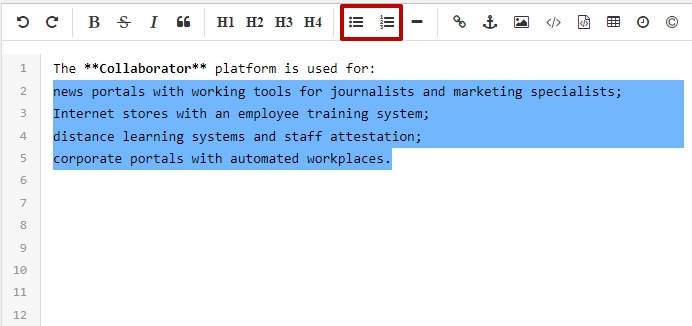
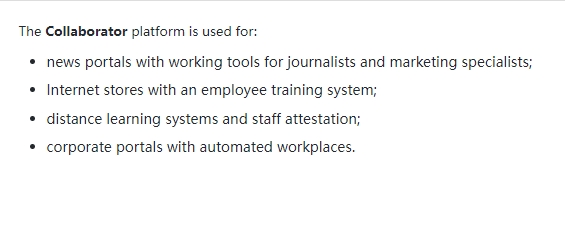
As a result, a bulleted list was created
Images
You can upload images from external sources to Wiki pages using the markup:
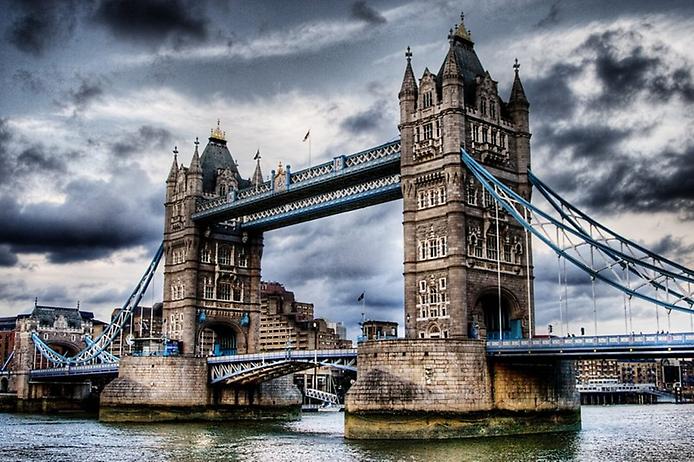
When you normally view such a Wiki page, the following image is displayed

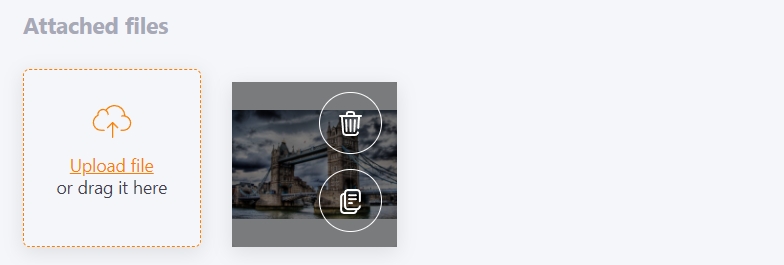
Images from a computer are added to Wiki pages using the Upload file button. The button appears in the editing mode. You can upload several images at the same time. Thus these images will be attached to the page being edited.
In order for the image to be displayed on the created page, you need to move the mouse over the uploaded image and use the second button that appears on the image. If you use the first button, the image will be removed.
If everything is done correctly, the link appears in the editing window:
And the image in the Preview window:
Tables
Creating a simple table in Wiki is also easy and fast. Just use the following syntax:
| Code | Title | Price per item |
| --- | -------- | ---- |
| А12 | Book    | $10  |
| А15 | Journal   | $20  |
As a result, we will see the following table
| Code | Title | Price per item |
|---|---|---|
| А12 | Book | $10 |
| А15 | Journal | $20 |
Divider | --- | also allows you to specify the alignment of the text in the table column. Possible options are:
| --- | - by default, the alignment is on the left edge
| :--- | - alignment on the left edge
| :---: | - center alignment
| ---: | - alignment to the right edge
An example
|  Code  | Title       | Price per item |
| :---- | :----------:       | ---:            |
| А123  |  Journal            | $10             |
| А234  |  Bestseller book  | $20             |
As a result, we will see the following table
| Code | Title | Price per item |
|---|---|---|
| А123 | Journal | $10 |
| А234 | Bestseller book | $20 |
