Kudos
The "Kudos" tool allows users to send any of their colleagues, subordinates, or managers a message of appreciation for work done, help provided, or any other encouraging text.
For this tool to work, you need to enable the Kudos module and give the roles such permissions:
- send kudos (for all users);
- manage kudos (only for the administrator).
Sending kudos
To send kudos to any employee, you need to find his card in Contacts and click the icon Send kudos:
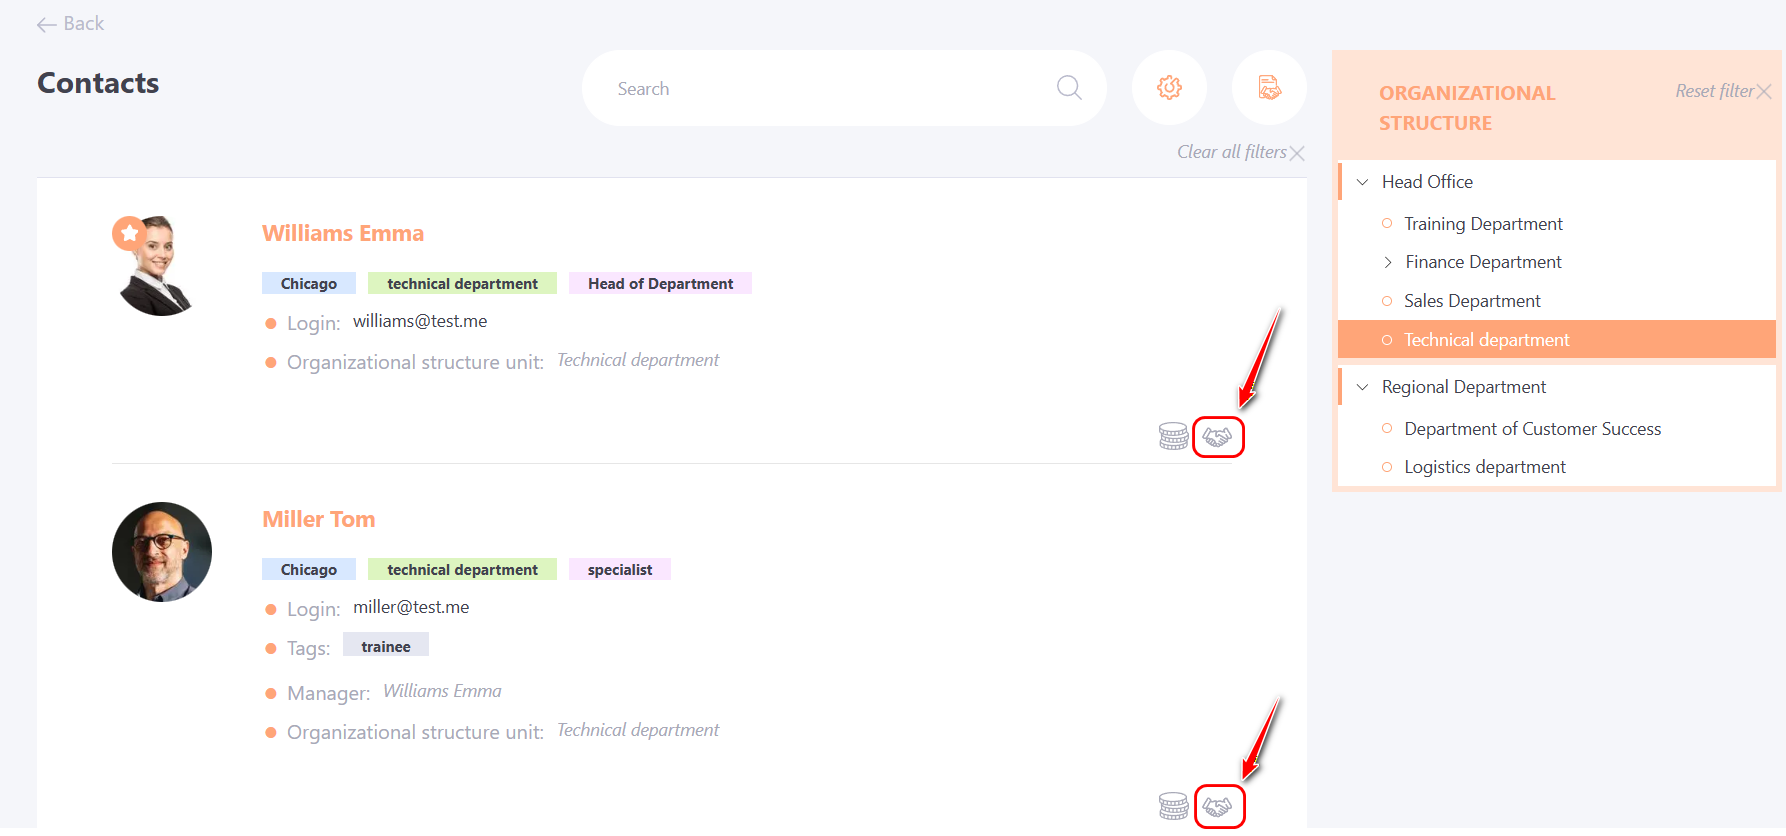
There is an option to set custom Kudos icons. Please, contact Technical Support for details.
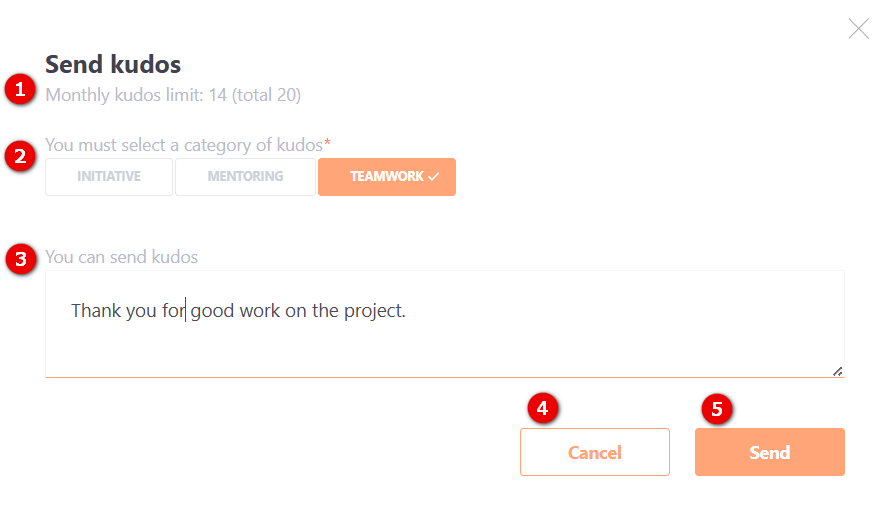
Clicking the icon opens a modal window with the following information:
(1) - Monthly kudos limit — displayed if the administrator has set a limit. It shows the number of available Kudos and the total monthly limit.
(2) - Kudos category — a field for selecting a category. If the administrator has made this field mandatory in the settings, it will not be possible to send Kudos without selecting a category.
(3) - Kudos text — a field for entering the message.
(4) - Cancel — a button to cancel sending and close the window.
(5) - Send — a button to send Kudos.
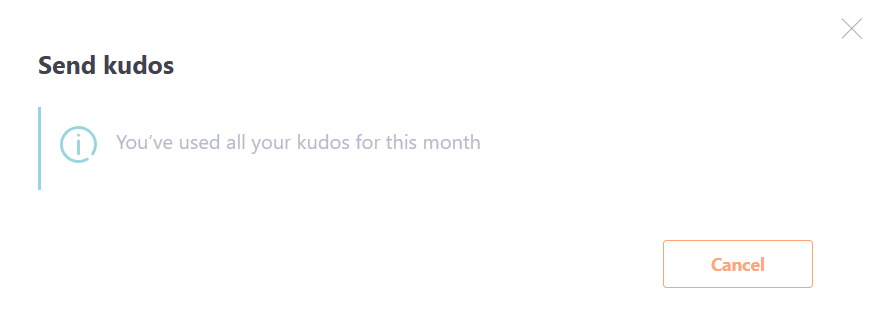
If a limit on sending Kudos is set and the user has already reached the monthly limit, the system will display a corresponding message:
Receiving kudos
After the user sends a kudos message, the recipient will receive an email or other connected communication channel message (more in Notification sendind channels) by template Kudos - The new kudos.
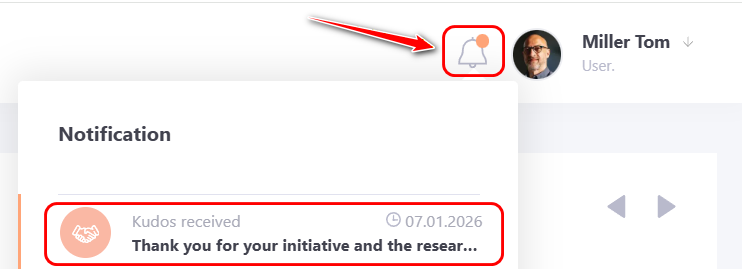
Also, all kudos are displayed in the Notifications bar next to the profile of the user:
When clicking on the message text or the “All notifications” button, the Notifications page opens. On the Kudos tab, you can view all received kudos, including the kudos text, the sender’s full name, the kudos category, and the date it was sent.
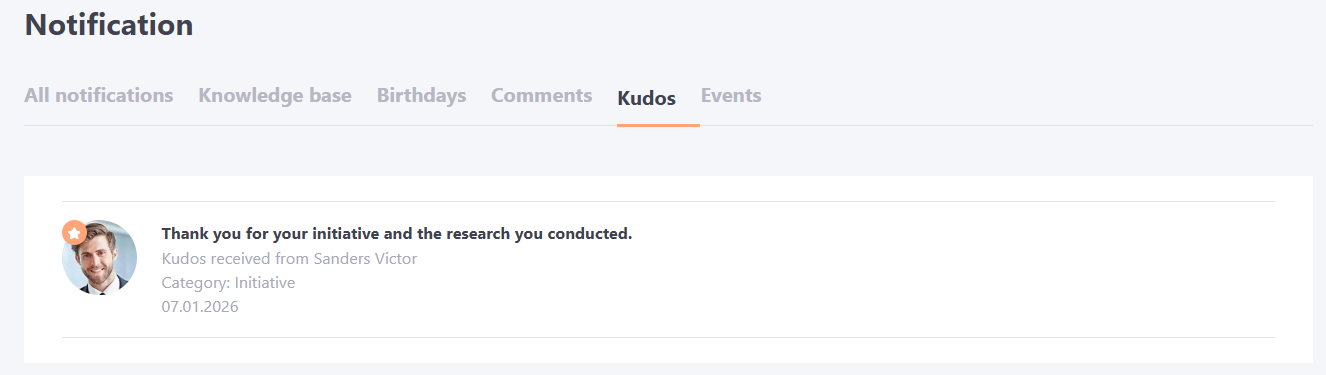
Clicking on a particular kudos takes you to the sender's card on the contact page.
Kudos moderation
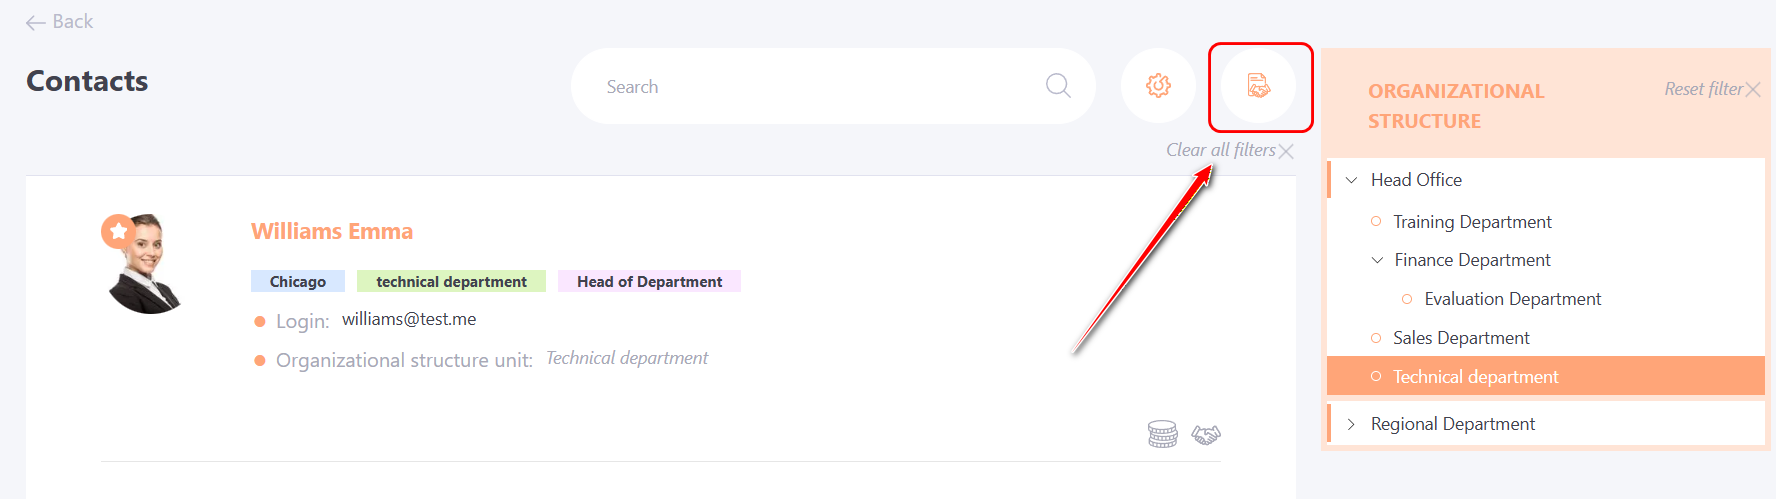
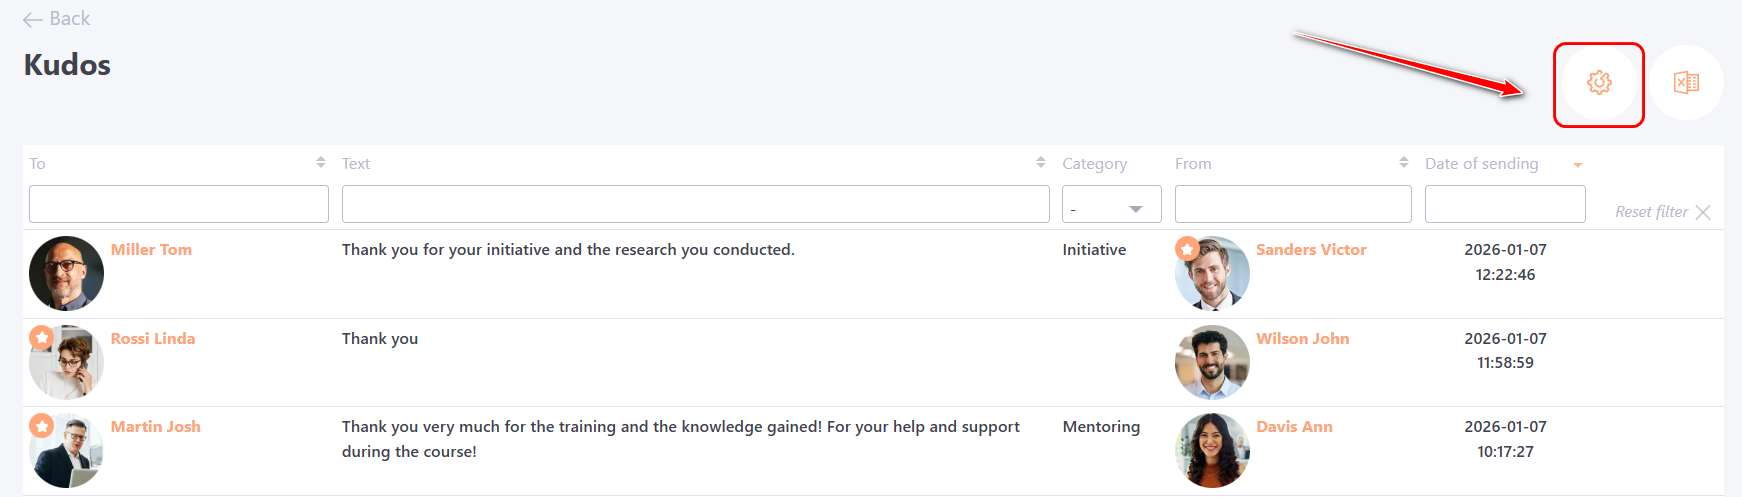
For the administrator (the role with the "manage kudos" permission), the Contacts page displays an icon to go to the table with all sent kudos over the entire time.
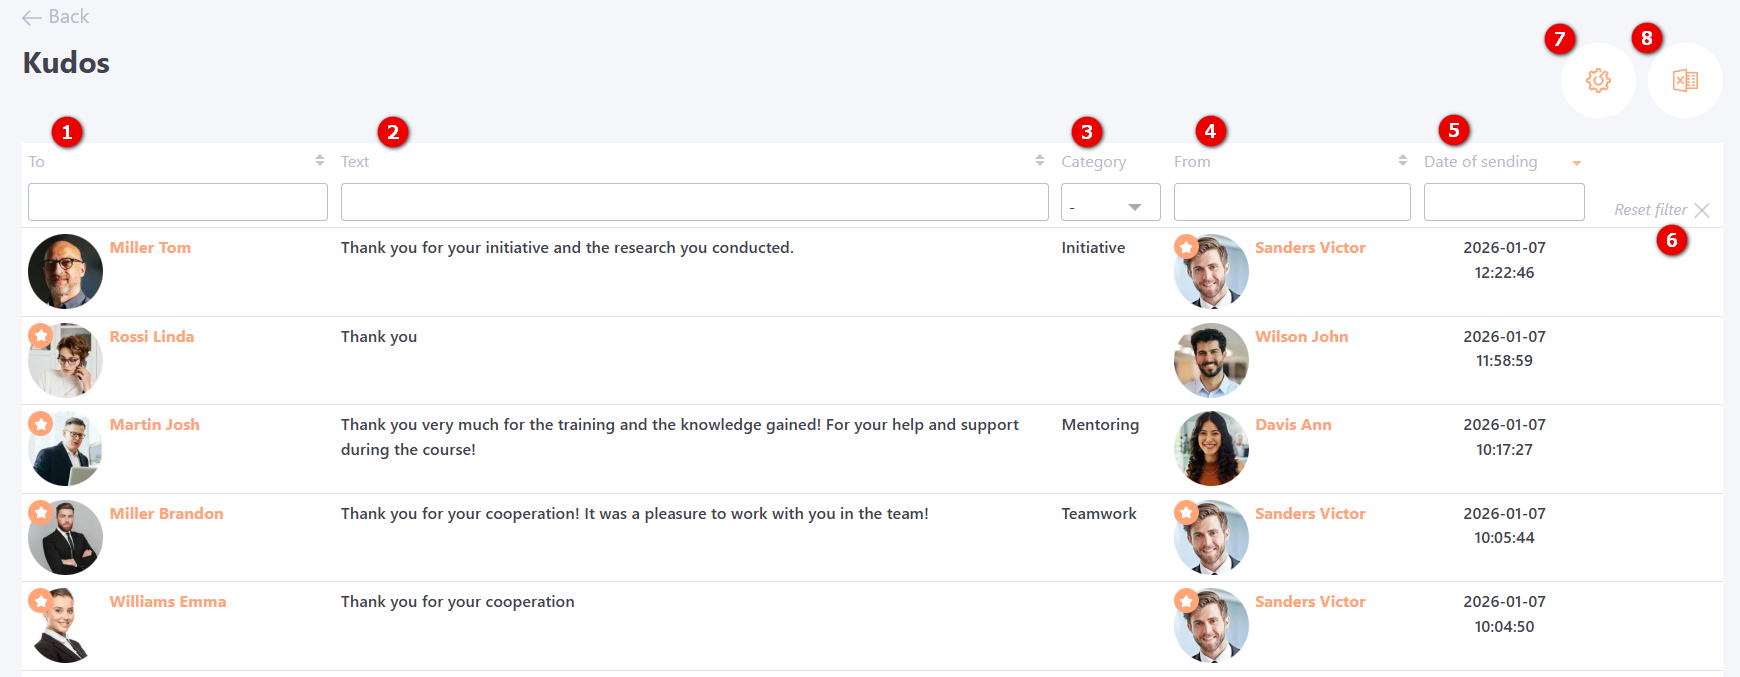
The table displays data with the following information:
(1) – kudos recipient;
(2) – kudos text;
(3) – kudos category;
(4) – sender;
(5) – kudos sending date.
Search and filtering are available for all table columns. To reset all filters, click the Reset filter button (6).
(7) – kudos category settings;
(8) – export to Excel.
Kudo settings
On the Kudos Settings page, the administrator can:
- create Kudos categories;
- make category selection mandatory when sending Kudos;
- set a limit on the number of Kudos a user can send per month.
The administrator can create Kudos categories and link them to corporate values. This helps in performance evaluation: a manager can see not only the total number of recognitions but also the specific qualities of an employee for which they are appreciated by colleagues (for example, "Team Player" or "Results Orientation").
To access the settings, go to the Kudos page and click the Kudos settings button.
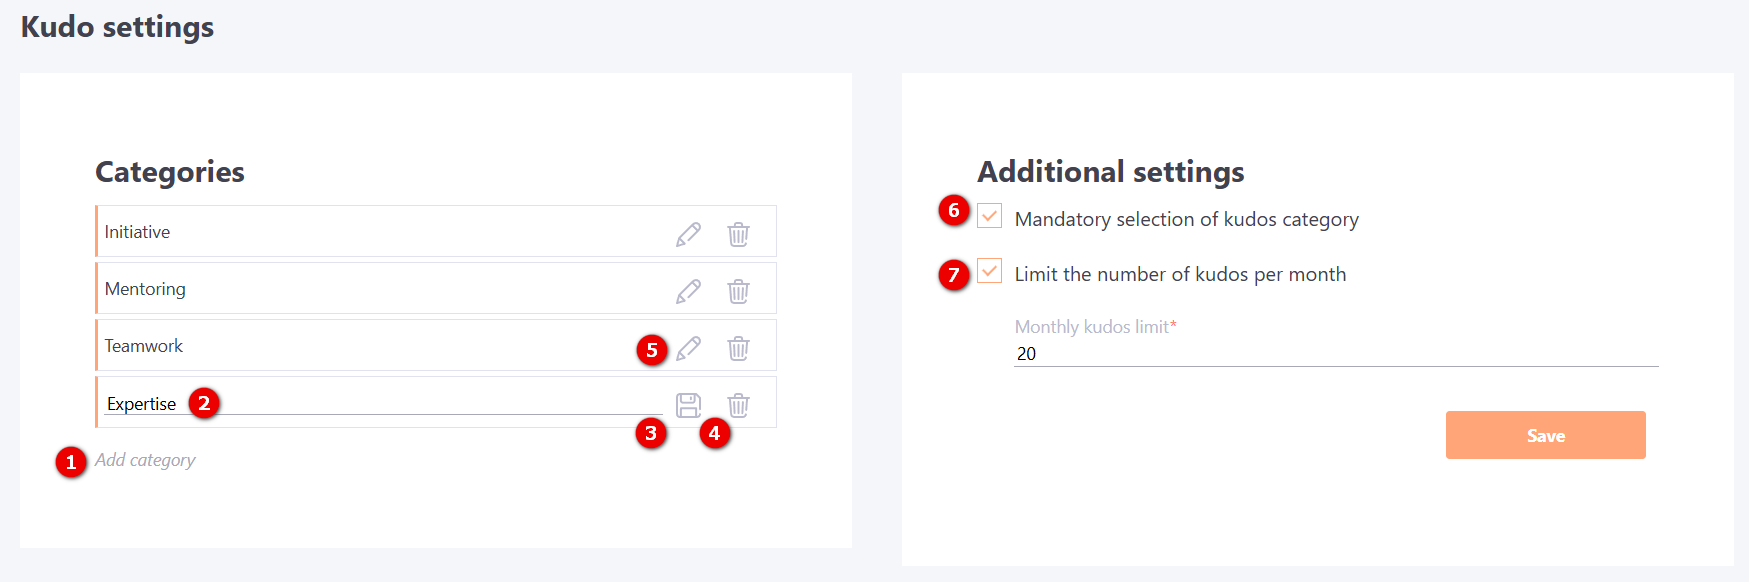
Categories
To create a new category, click "Add category" (1), enter a title in the field (2), and click "Save" (3).
To rename a category, use the "Edit" (5) button.
To delete a category, click "Remove" (4).
Additional settings
(5) — Mandatory selection of kudos category — enable this checkbox to require users to select a category when sending Kudos.
(6) — Limit the number of kudos per month — if this checkbox is enabled, you must specify the maximum number of Kudos a user can send per month.