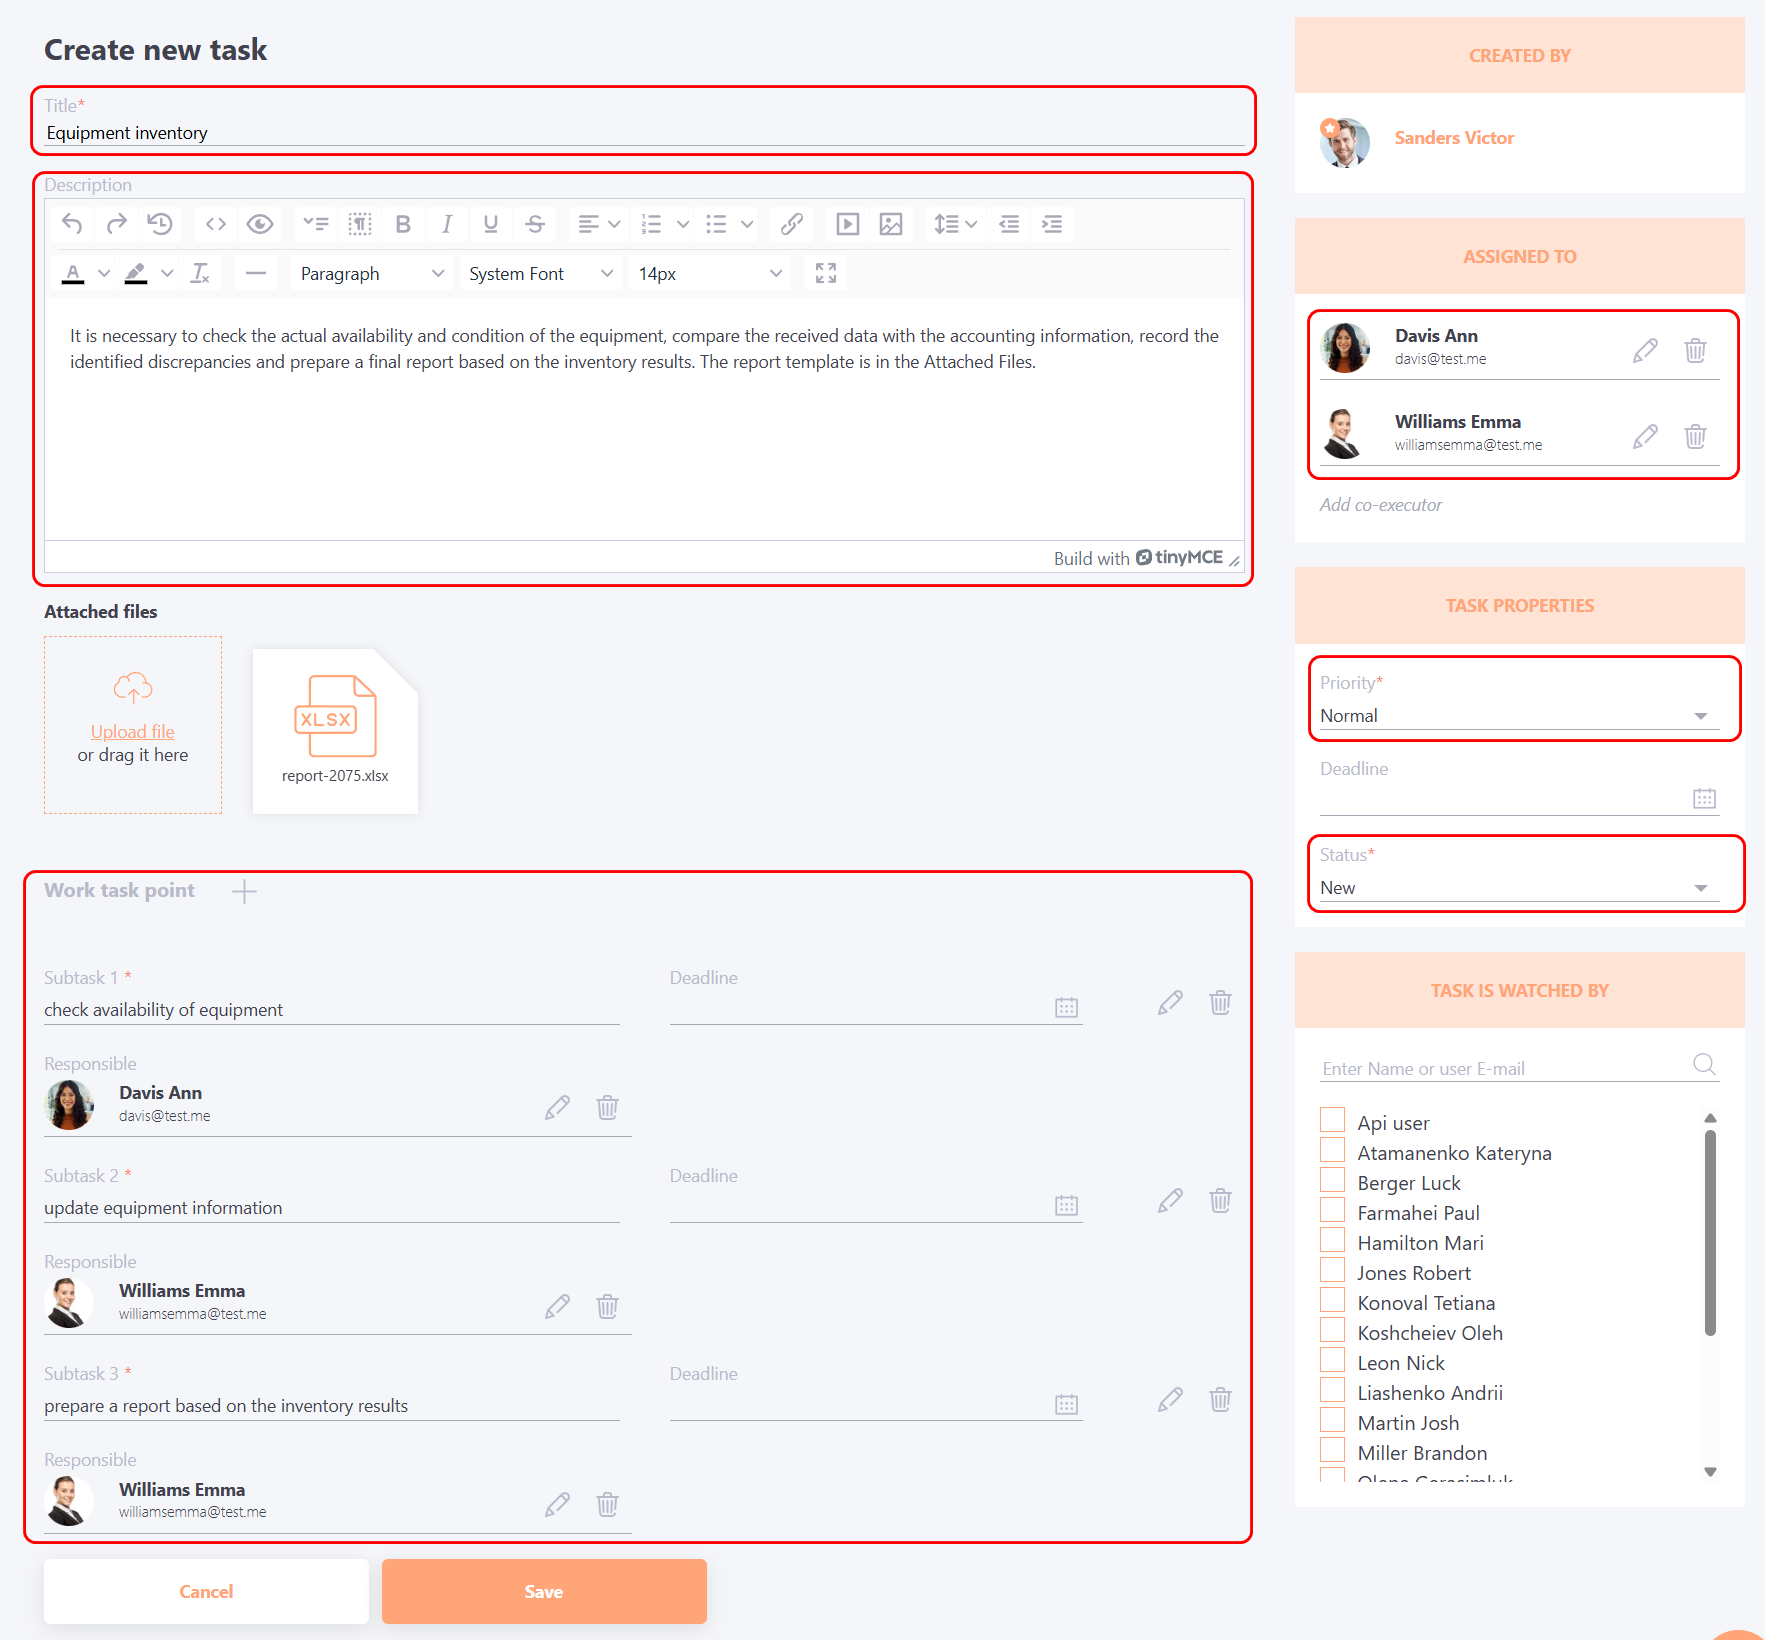
Creating work task
Creating work task
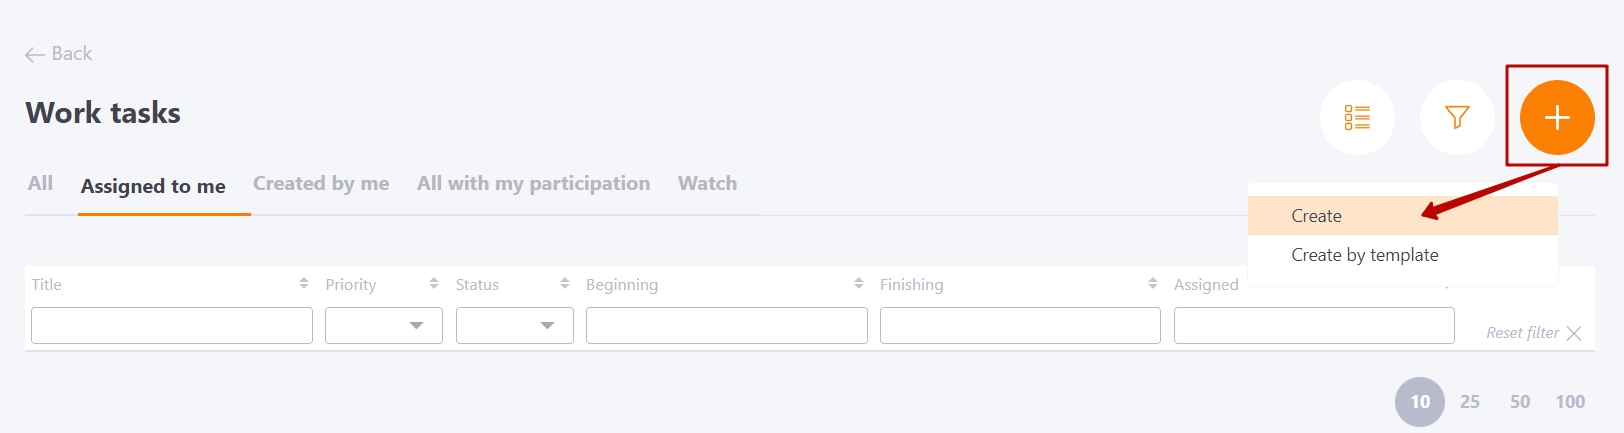
To create a new task, go to the Work task table, click the Create button and select the method of creation (by yourself or by template).
After that, a page will open where you need to fill in the following fields:
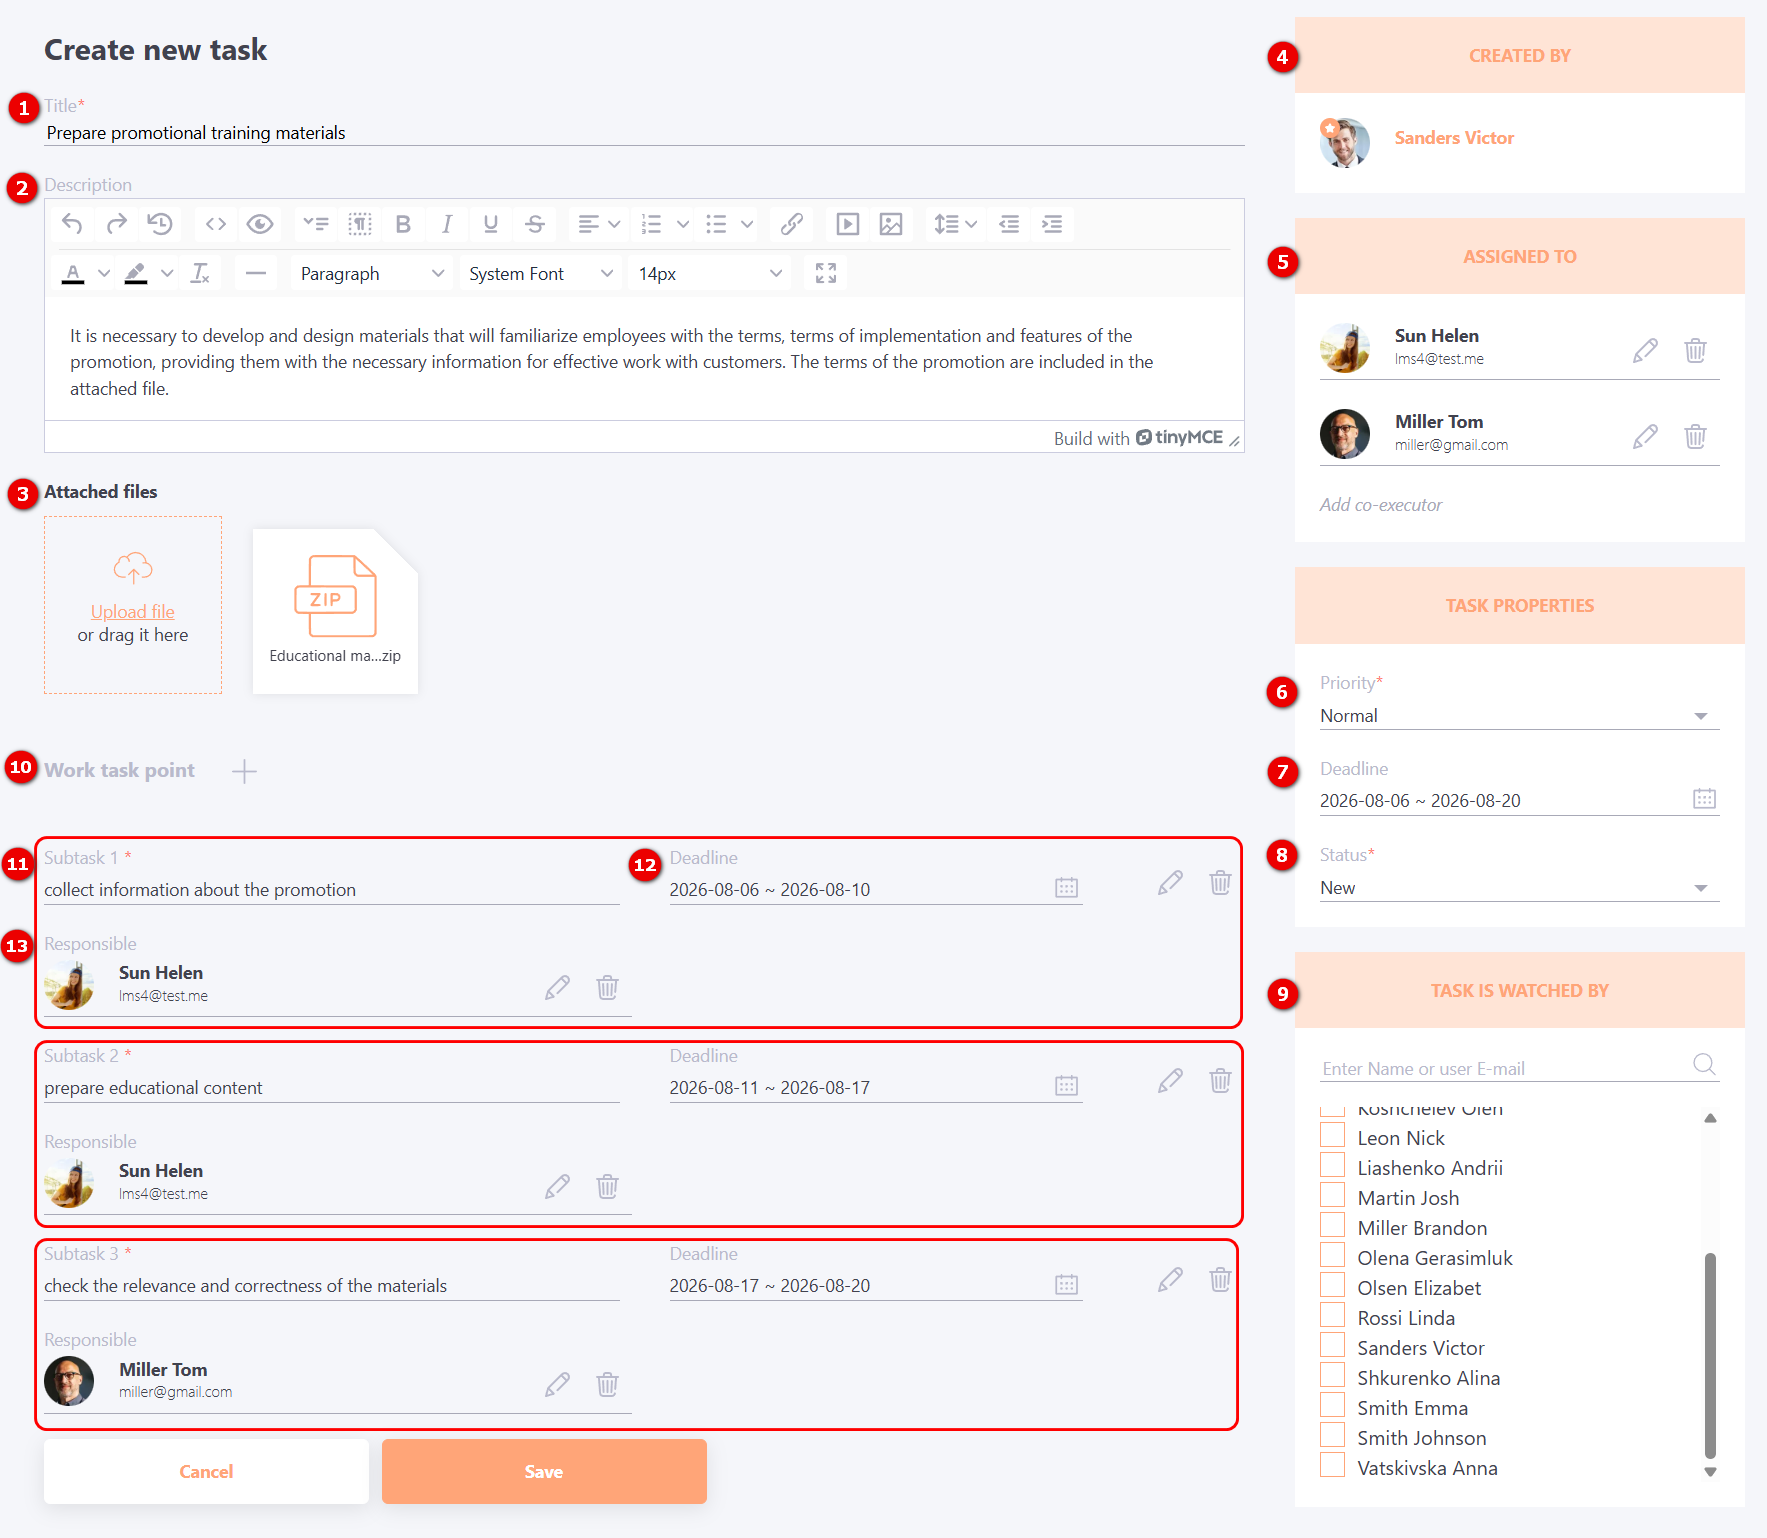
(1) - Title - the name of the work task. This field is required.
(2) - Description - a text editor for creating a detailed description of the work task.
(3) - Attached files - allows you to upload files to the task.
(4) - Created By – the user who creates the task is automatically assigned as its author.
(5) - Assigned to – specify the task assignees. You can assign one or multiple users.
To assign a user click Edit then select a user from the drop-down list or use the search field. To add another assignee click Add co-executor. To remove an assignee click Remove.
(6) - Priority – specifies the importance level of the task. This field is required. More information: Working tasks settings.
(7) - Deadline – the calendar period during which a task must be completed.
(8) - Status – the current task status. This field is required. More information: Working tasks settings.
(9) - Task is watched by – allows you to add users who can monitor the task progress. For more information, see Watch the work task.
(10) - Work task point – allows you to divide the task into individual subtasks. To add a new task item, click Add (the plus icon). You can specify a separate Deadline and assign a Responsible User for each subtask.
(11) - Subtask – an individual item within the main task. To edit a subtask, click Edit (the pencil icon). To remove a subtask, click Remove (the trash icon).
(12) - Deadline of subtask – allows you to set a separate deadline for a specific subtask.
(13) - Responsible User – the user responsible for completing the subtask.
Before assigning a Responsible User, the user must first be added to the assignee list in the Assigned to field (5). To select a responsible user, click Edit. To remove the responsible user click Remove.
Creating a work task by template
To create a work task from a template on the Work Tasks page click the Create button and select Create by template:

Next, a modal window opens in which you need to select the name of the previously created template (more details: Templates of work tasks).
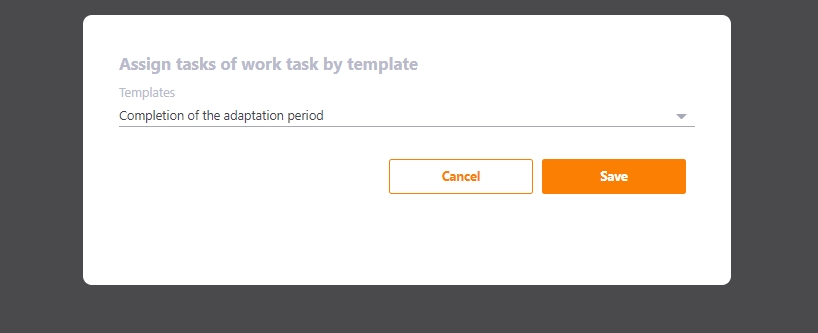
After selecting a template and clicking the Save button, the new task creation page will open, where the following fields will be automatically filled in:
Title, Description, Work task point, Priority and Status.
If necessary, this data can be changed.