Simple notices
Simple notices - these are informative notices, which, after publication, are displayed to all users on the main page of the portal. Simple notices cannot be assigned to individual users and sent to the mail.
Simple notices table
Simple notices are created in the same way as the other types of notices (more in Notices. Types of notices).
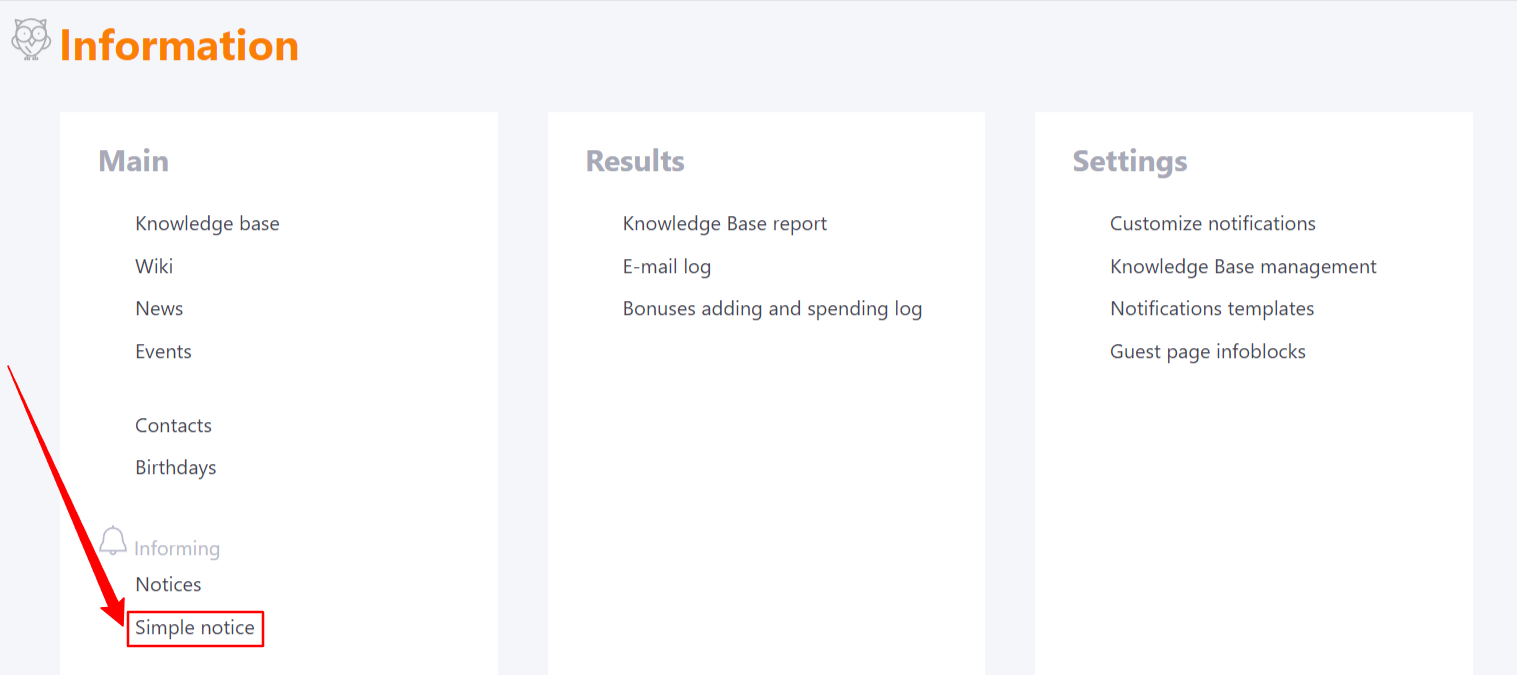
To do this, open the Simple notices page (Information - Simple notice).

The page will display all previously created Notices.
They can be edited (1), deleted (2) or removed from publication (3).
Simple notices can be liked/disliked. Statistics on the given marks are displayed in the table in the Answers column (4).
To create a new notice, click Add (5).

A group deletion option is available in the table with simple notices. To do this, you need to highlight the notices with the checkboxes on the left. After that, the Remove button will appear.

Creating simple notice
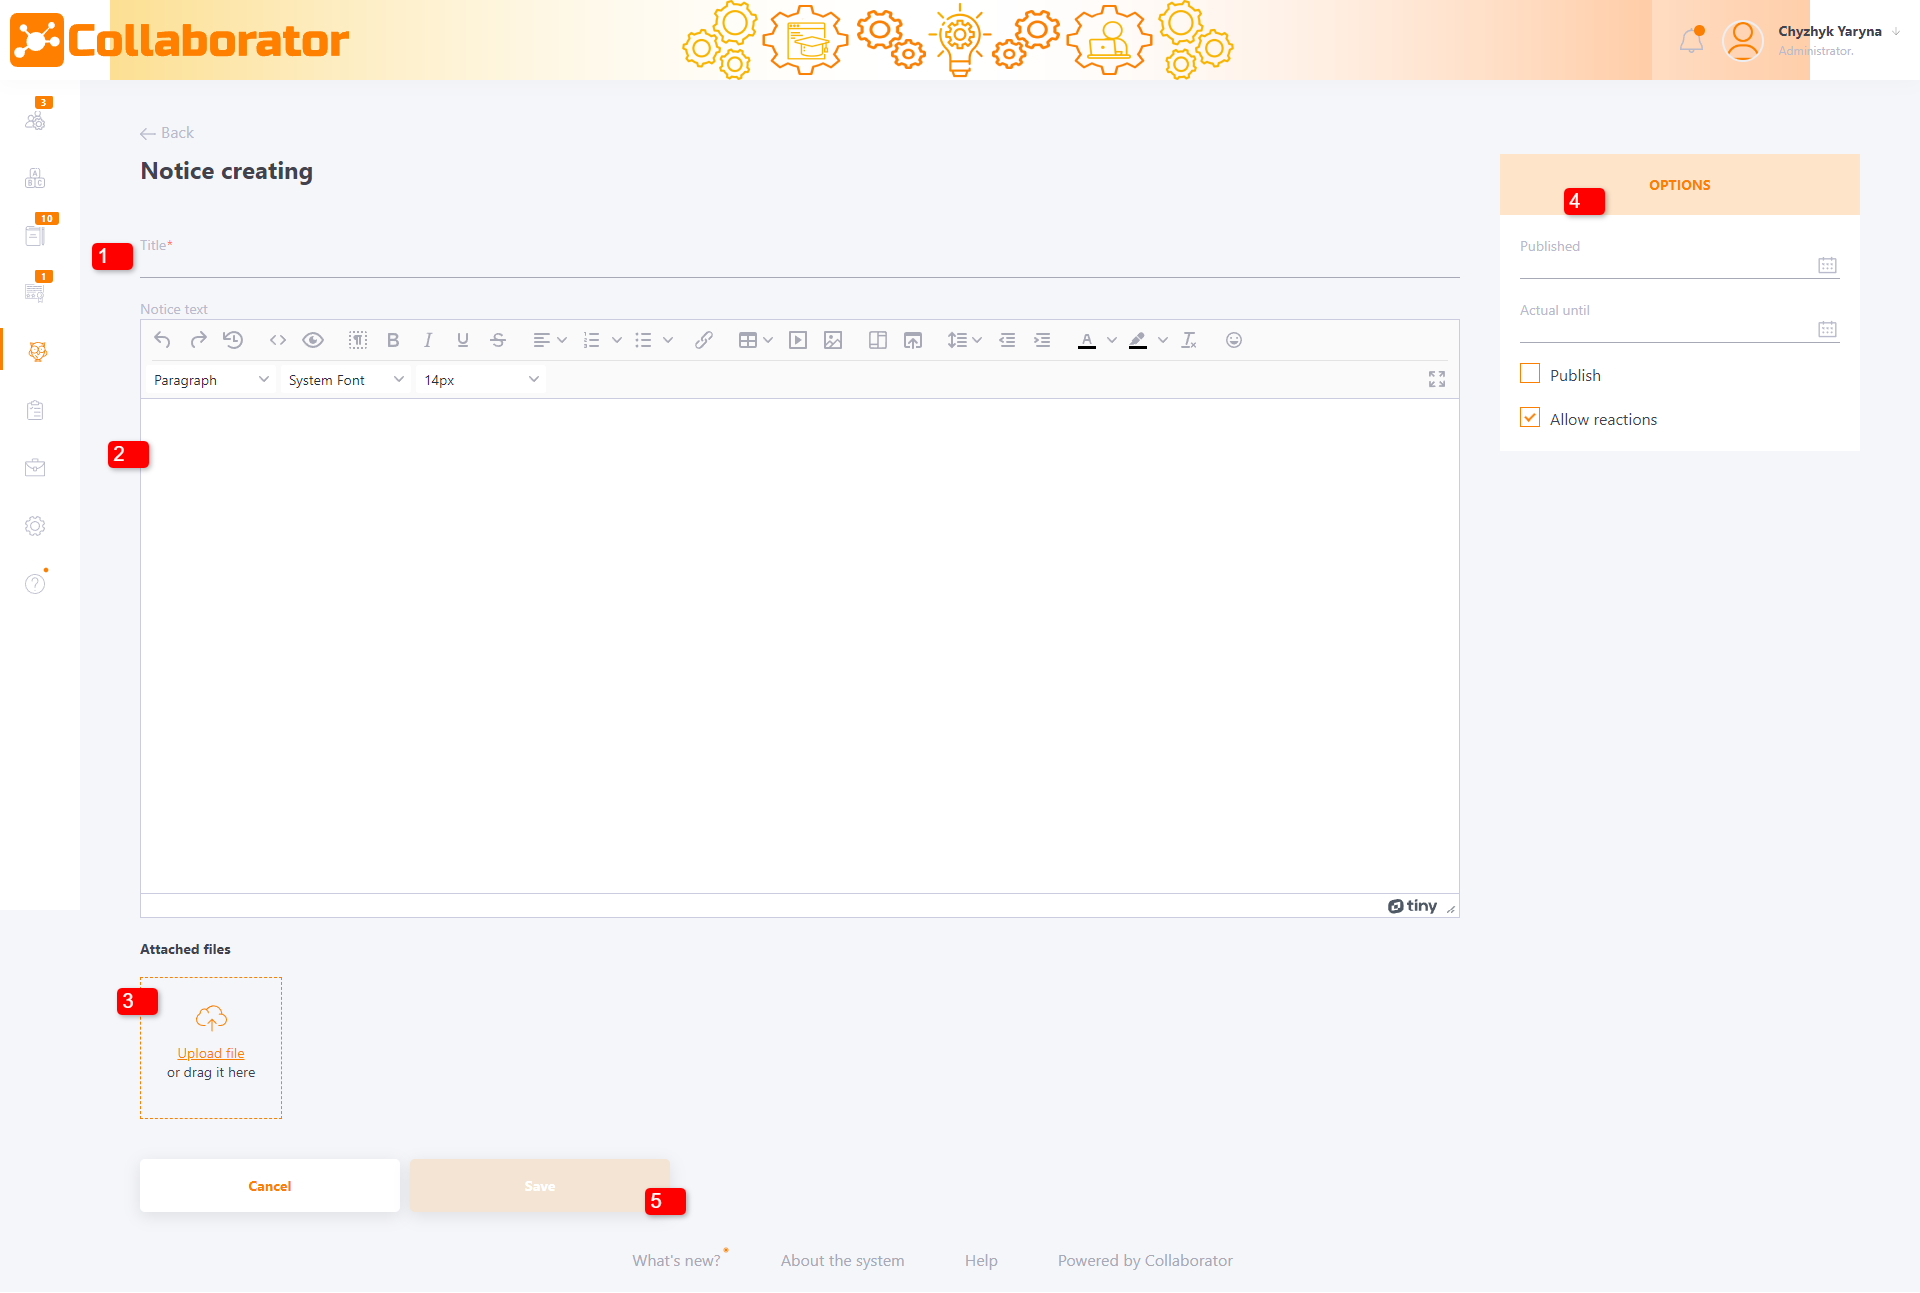
On the Notice creating page you need to fill in the following fields:
(1) - Title – the title of the notice, mandatory to fill in;
(2) - Announcement text – notice creation editor;
(3) - Attached files - adding images, for use in the editor.
(4) - Options - Selecting the Notice actual period, Publication date and publishing the notice.
-
Published - is the date on which the notice will begin to be displayed to users on the main page. The date can be earlier or later than the current creation date.
If you do not specify the publication date, the creation date is automatically substituted after saving.
If you specify a publication date later than the current date, then you can schedule the publication of the notice in advance.
This option is responsible for sorting simple notices in the main widget - the newest ones are displayed first. -
Actual until - the date responsible for the completion of the publication. If the date is specified, then after its arrival, the notice will disappear from the main page. If no date is specified, the notice will be displayed until the administrator forcibly removes it from the publication.
-
Allow reactions - a checkbox that determines whether users will be able to leave reactions (likes/dislikes) to simple notices.
(5) - Save Button - a button for saving the notice.

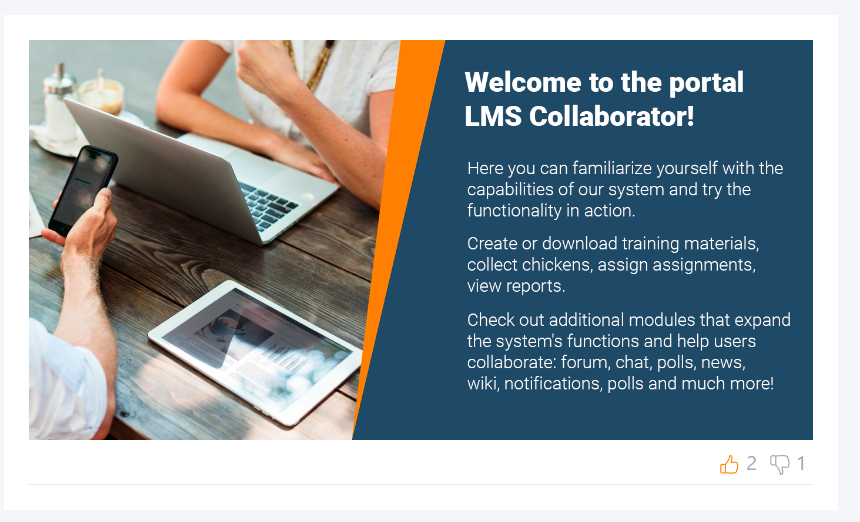
An example of a simple notice on the main page:

Simple notices on the main page of the portal are displayed as a list by default. If you have a lot of notices, you can group them by enabling horizontal scrolling in the widget settings (more in Home page widgets)
