Table of Contents
Creating workshops
To create a new workshop on the Workshops page click on the Add button.
This will open the Workshop creating page.
Fields to fill in:
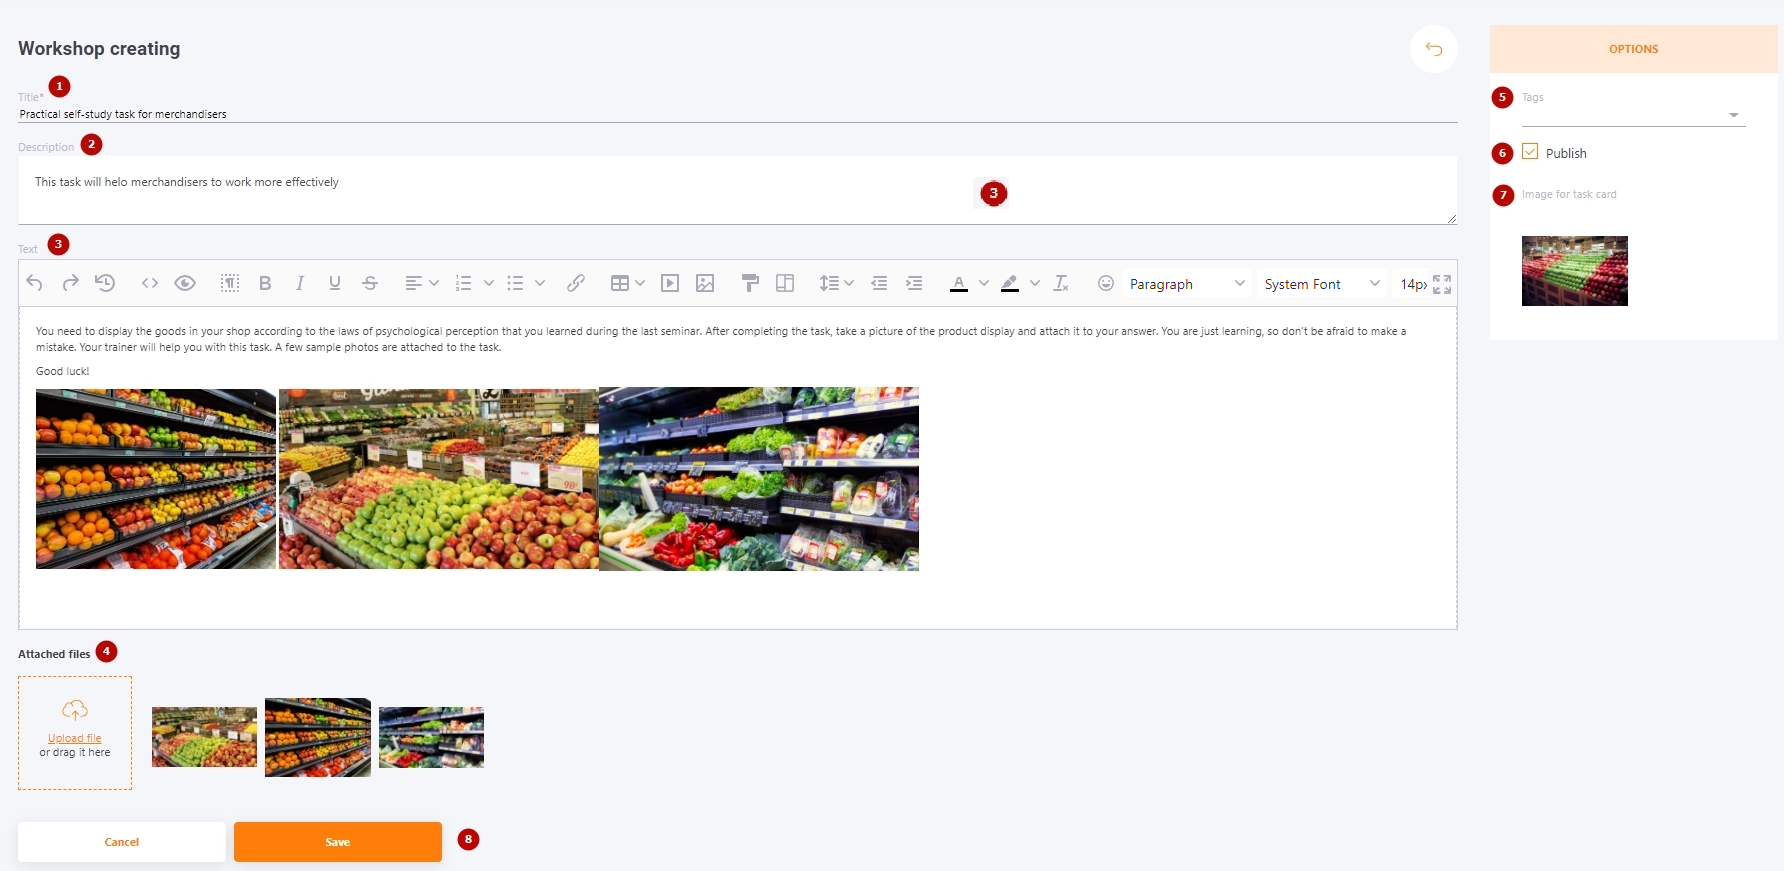
- Title (1) - a mandatory field which carries the title of the workshop;
- Description (2)- short description for the workshop;
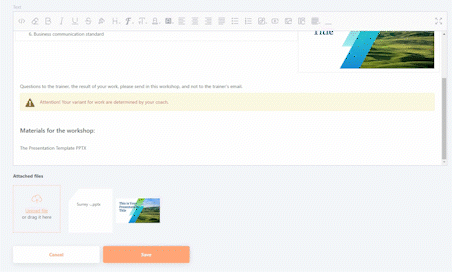
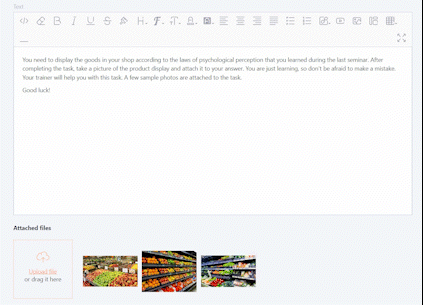
- Text (3) - a text editor to generate a page for the workshop material;
- Attached files (4) - uploading files for use in the text editor of the "Text" block (3) using the Upload file button.
Allowed formats: jpg, png, jpeg, gif, svg, xls, xlsx, doc, docx, zip, rar, 7z, pdf, epub, swf, ppt, pptx, pps, ppsx, potx, potm, pot, ppsm, mp3, odt, ods, odp, odg, m4a, aac.
In the Options block:
- Tags (5) - tags adding;
- Publish (6) - set or deselect publication for the workshop material. By default, the publication is deselected.
- Image for task card (7) - button to upload an image for the workshop task. Allowed formats: jpg, png, jpeg, gif, svg.
- Buttons for saving changes (8)
- - button for saving new workshop material
-
- button to cancel the creation of new workshop material
Inserting attached files into the workshop description
To insert an attached image into the description of the workshop, press the Select image button in the editor  and select the attached image in the model window that appears.
Other types of allowed files can be added to the description of the workshop as a link for downloading by the user.
To do this, hover over the attached file, copy the link address, select the text that will be the link in the description, and click the Link button in the editor.