Page
Create resourse-page
For a Page type resource, the main editing tool is the TinyMCE editor (1). It allows the user to create text resources of any complexity. You can also make changes to the resource content at any time. A number of buttons are provided for creating and editing resources to edit text and insert resources, videos, links, tables, templates and so on. These tools are sufficient to prepare information in a professional manner.
Use the Upload files (2) button to upload files from your computer.
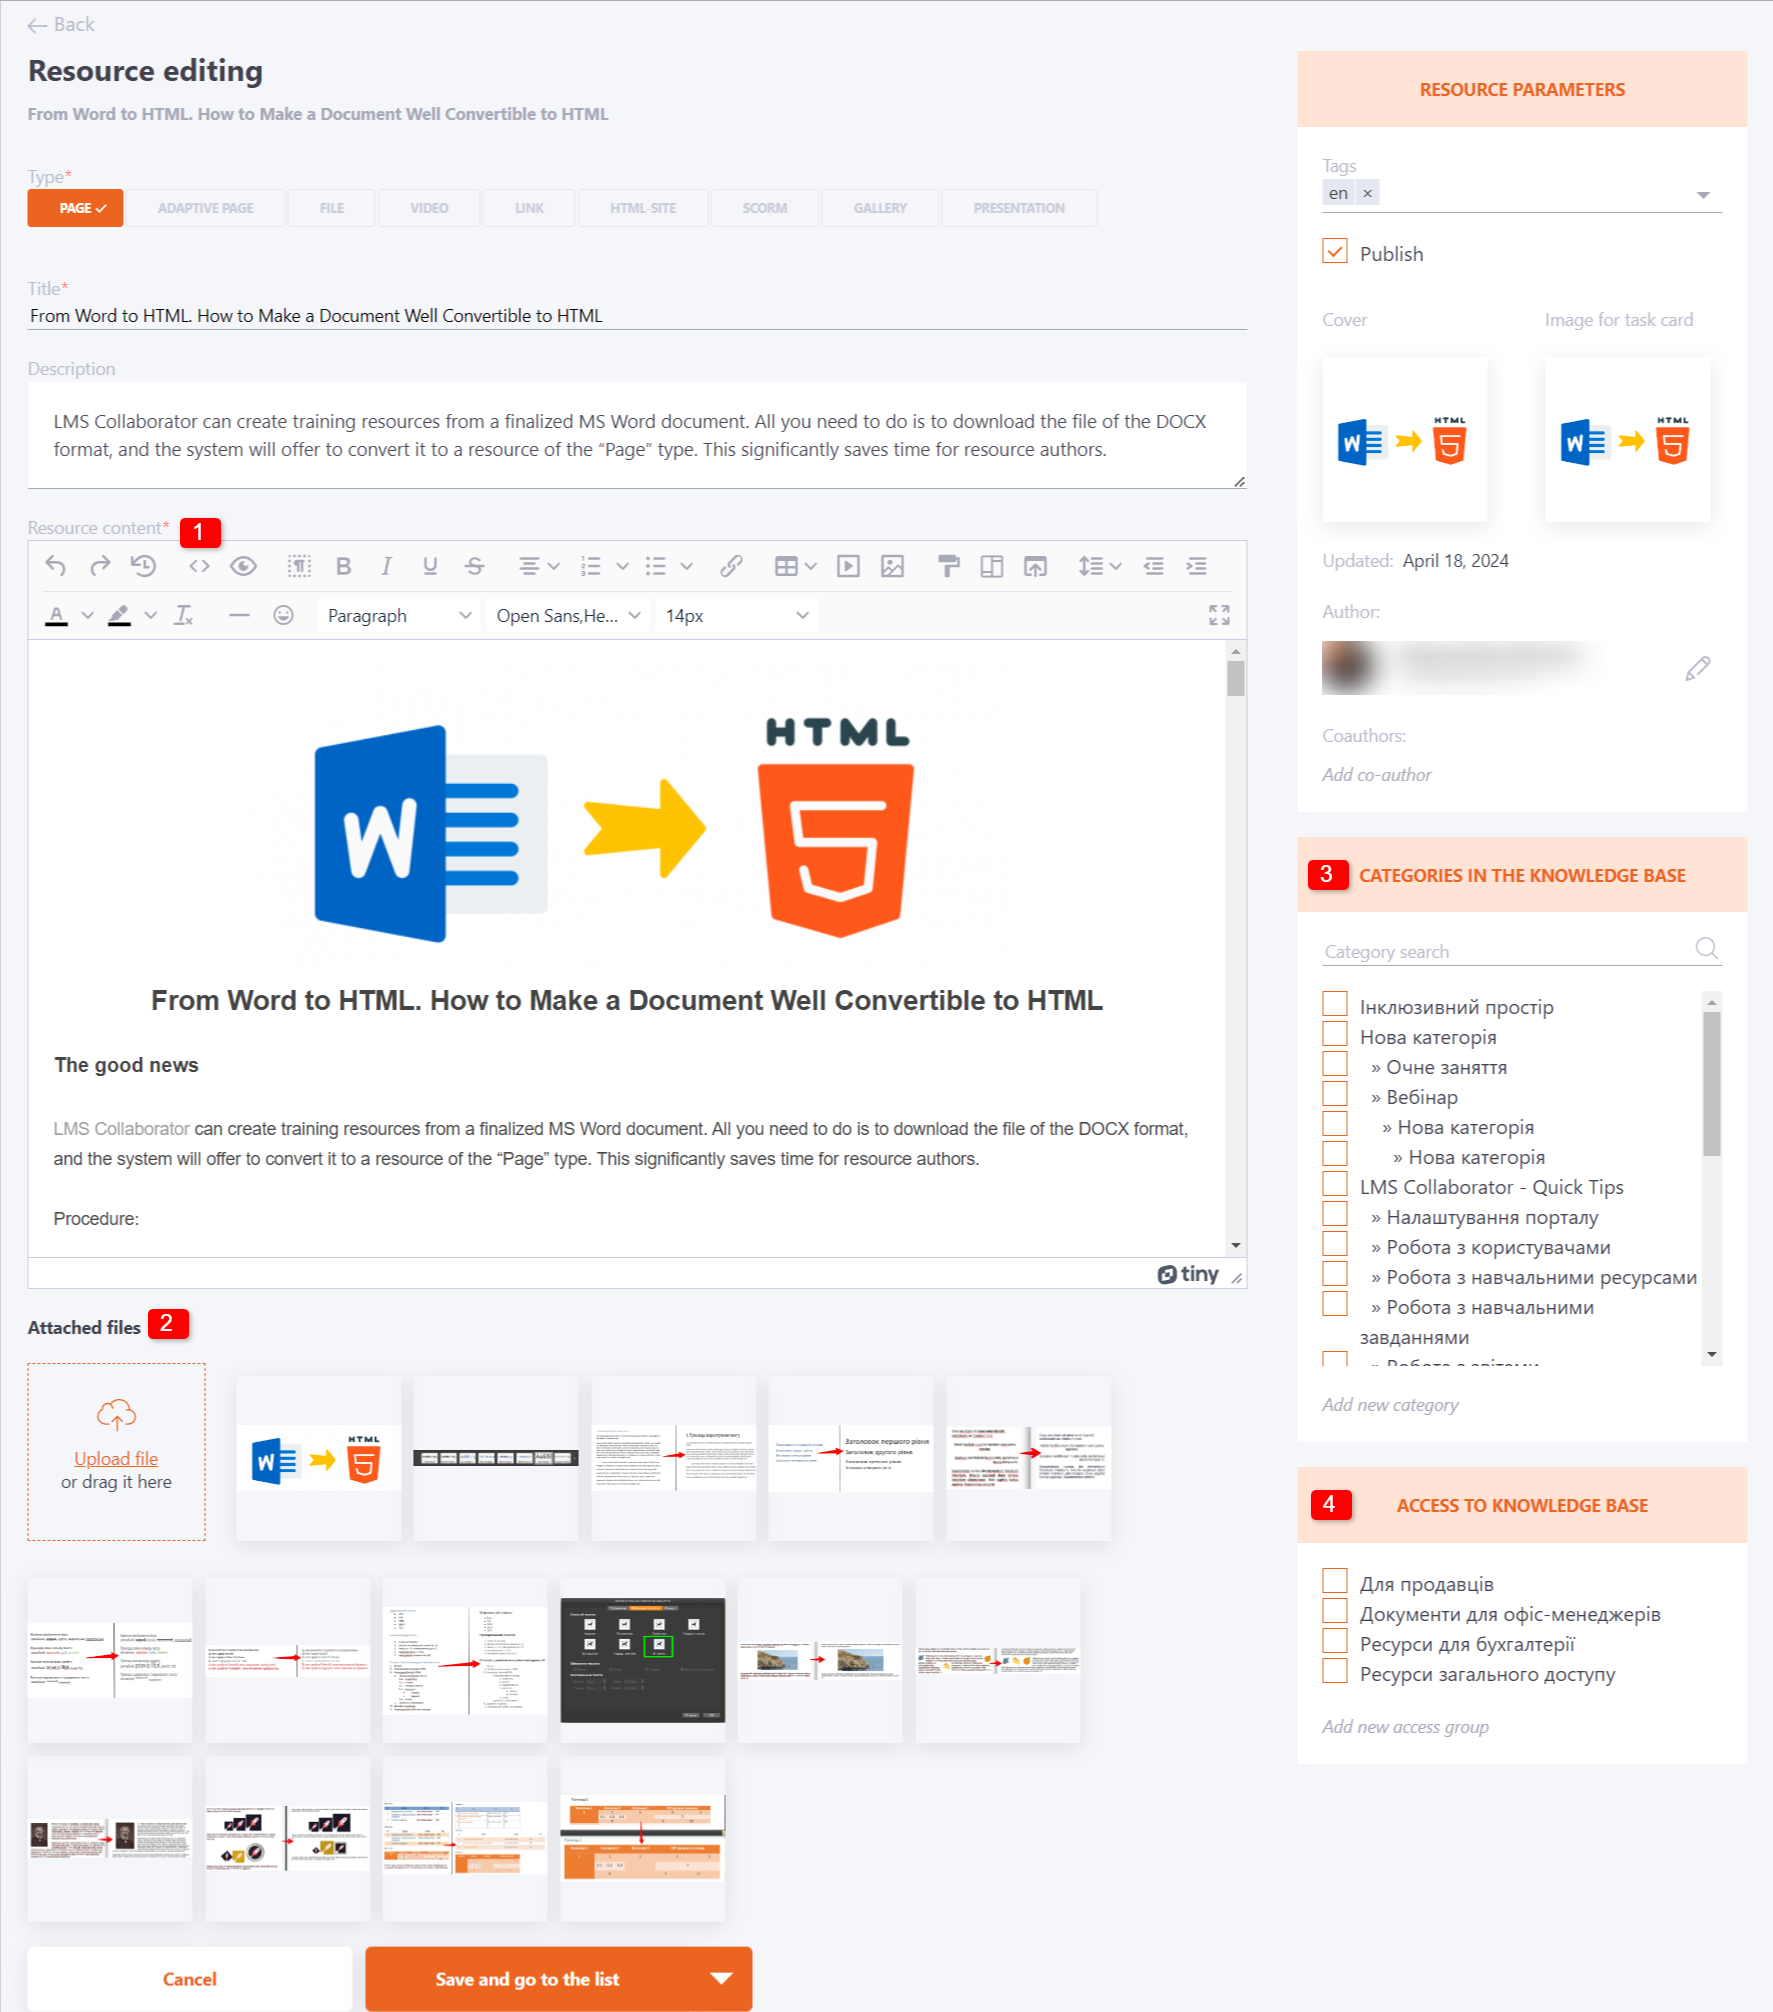
You can specify a Category (3) for resources immediately when creating or editing them. See Resource categories for more information on creating and using categories for resources.
It is also possible to define resource access for group or all system users right away. For this purpose you need to use Access to Knowledge Base (4) block. You can read more about Knowledge base settings and usage in Using the Knowledge base. You can select one or more access groups.
Inserting a video clip from YouTube or another website using embed code
Use the Insert embed code button to insert the frame code offered by YouTube into the page. For example:
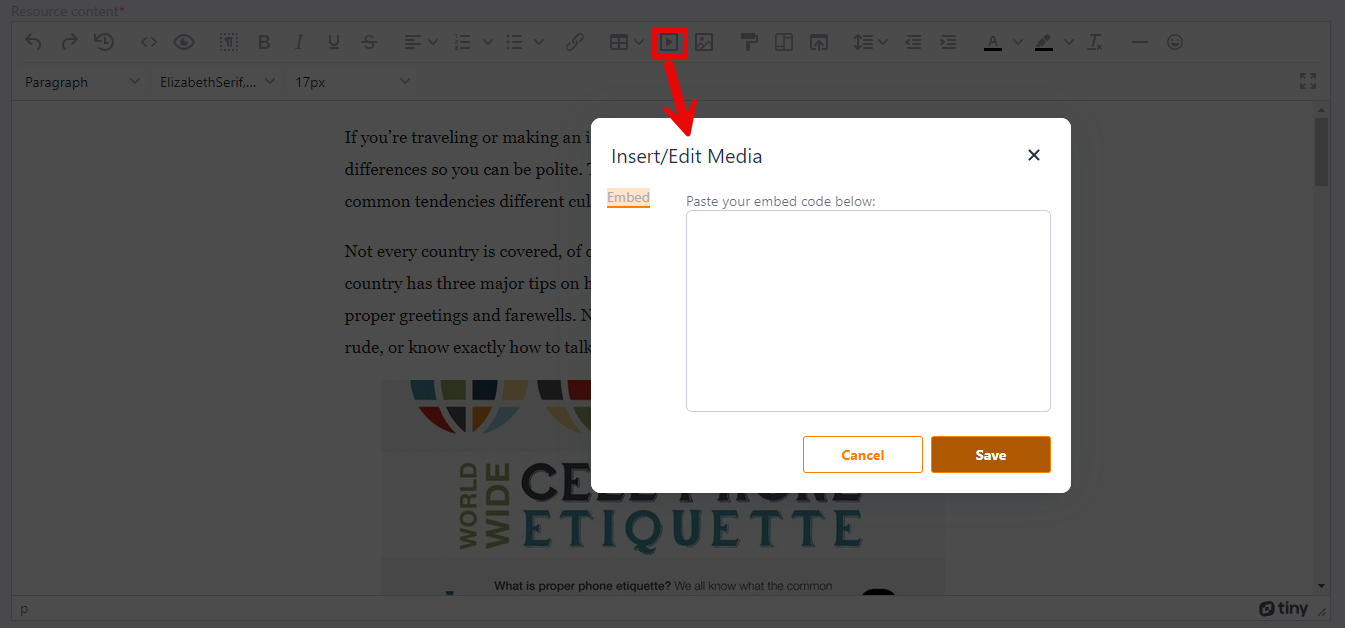
But in order for the video to fit correctly on all types of screens, the frame width setting must be changed: width="100%"
The resulting code is:
<iframe width="100%" height="315" src="https://www.youtube.com/embed/r5lDpCUSZcQ" frameborder="0" allow="accelerometer; autoplay; clipboard-write; encrypted-media; gyroscope; picture-in-picture" allowfullscreen></iframe>This is how the result will look like at different screen sizes:
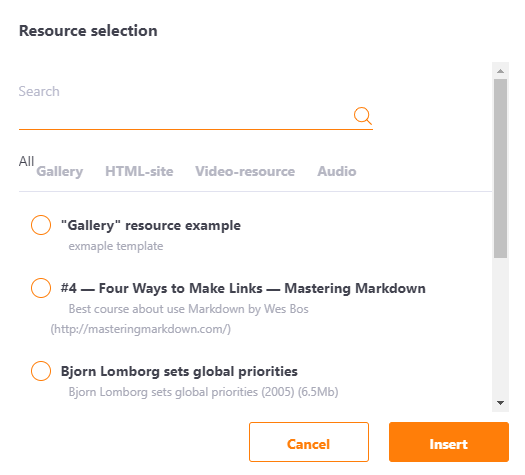
Inserting resources created on the system
While creating new page resources, you can use other resources previously created in the system. Resources such as Gallery, Video, Audio and HTML site are available for insertion. Click Select Resource button in the editor to open the menu. In the Select resource window you will see the entire list of published resources video, audio, galleries, HTML sites. If the desired resource is not in the list, you can use the search that works by resource name and description or tabs by resource type.
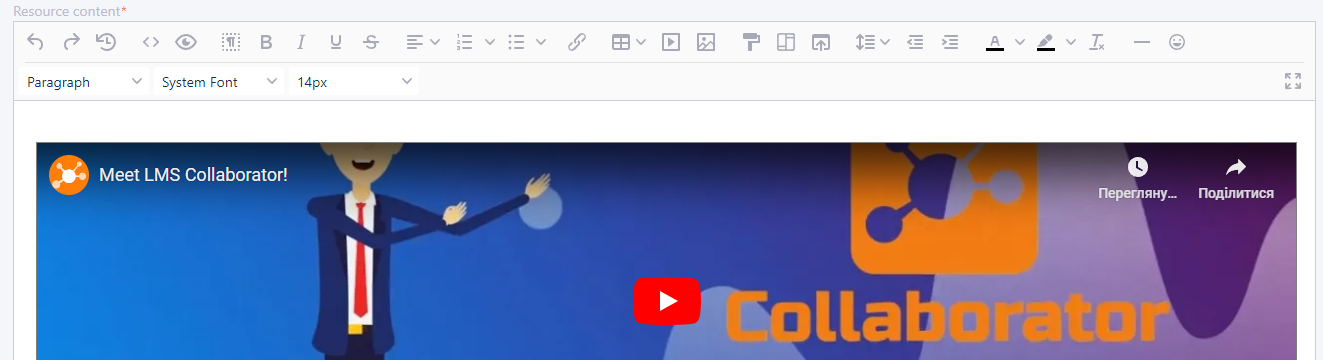
After inserting the resources, the resource icon appears in the editor. For example, an HTML website has been added to the resource page.
When viewing a resource, a text page opens with the resource inserted.
Inserting images
Uploaded images should be inserted into the resource page using the Select image button:

Clicking the button opens a window for selecting an image from the uploaded ones. Select the one you want to insert and press the "Insert" button. The picture will be inserted in place of the cursor:

Settings for editing inserted images:
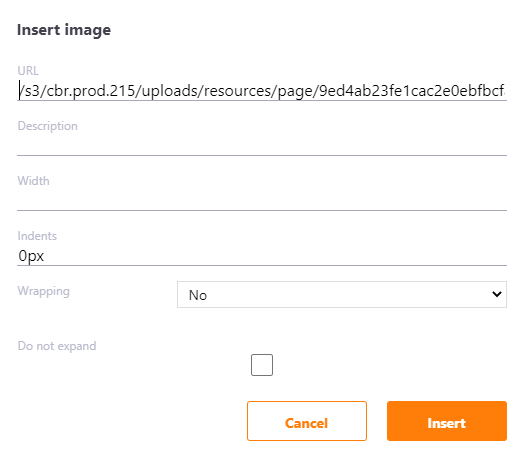
You can set the width of the image in pixels.
The default option for images is 'Expand'. This means that when you view a resource by clicking on an image, it opens in a larger size.
Inserting links
In order to add an active link to the resource, it is enough to insert it directly into the text of the document, it will be highlighted in orange.
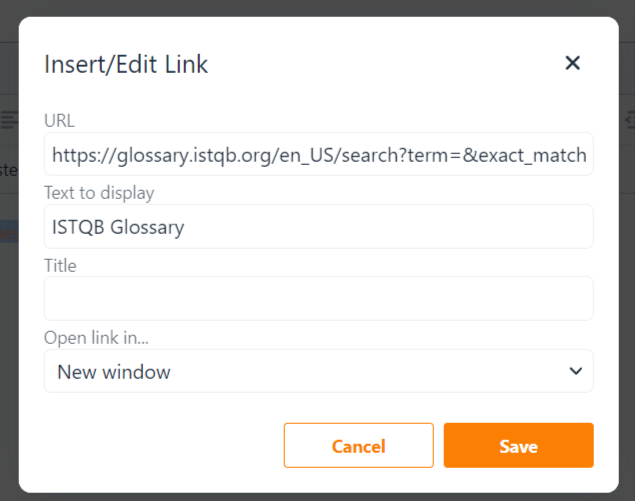
You can go to the link editing menu using the "Insert/edit link" button:

In the modal window that opens, you can:
- edit the link address
- add text to display instead of link symbols directly
- add a title
- choose the method of opening the link:
- "-" - in the current tab
- "New window" - in a new tab, the current one will not be closed.
Inserting and working with Accordion
In the text editor, it is possible to insert an Accordion:
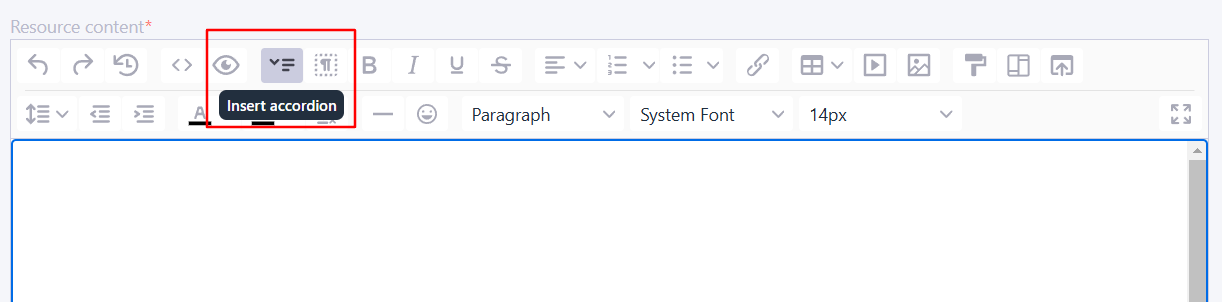
The Accordion plugin allows for the creation of sections in a document that can be expanded or collapsed to show or hide additional content.
When adding the accordion, you need to specify the Accordion summary (1) and Accordion body (2):
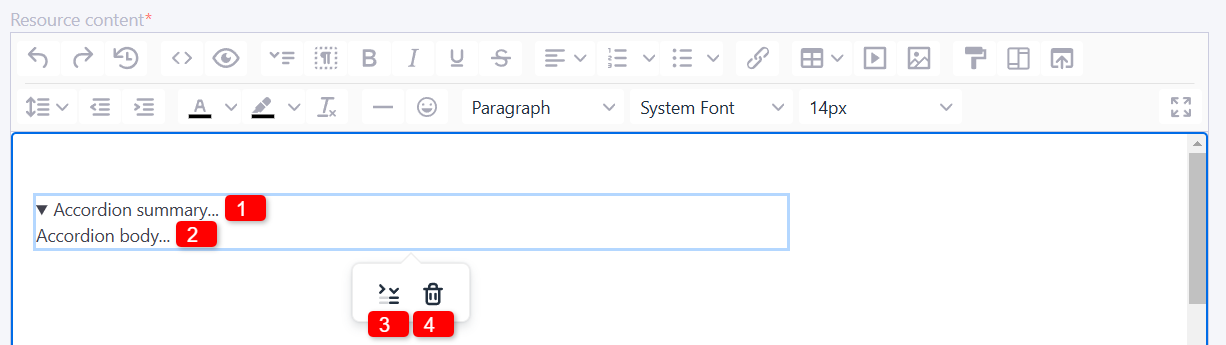
The Accordion summary conveys the essence of the content, its main idea, so that when users expand this menu, they can read this content in more detail. These can be various tabs, content table, frequently asked questions, a "questions and answers" section, a knowledge base, etc.
To collapse/expand content, you must first click on the section of the inserted accordion to display the control buttons, and then click the button (3). Button (4) removes the accordion.
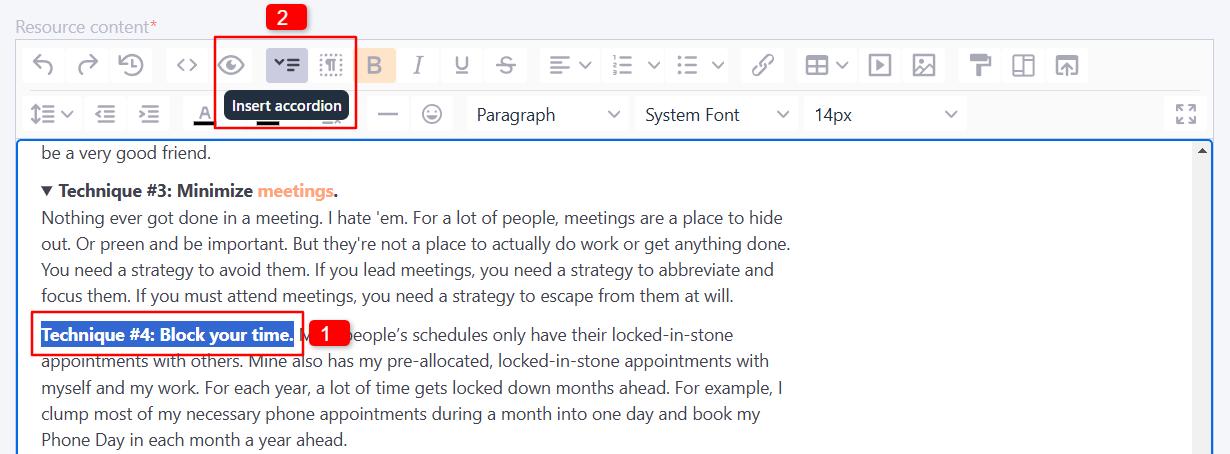
You can also select the text that will be the Accordion summary and click the accordion insert button. An accordion will be created with a filled in summary.
You can use any content in the accordion: images, media, tables, links, etc.
Example of using an accordion:
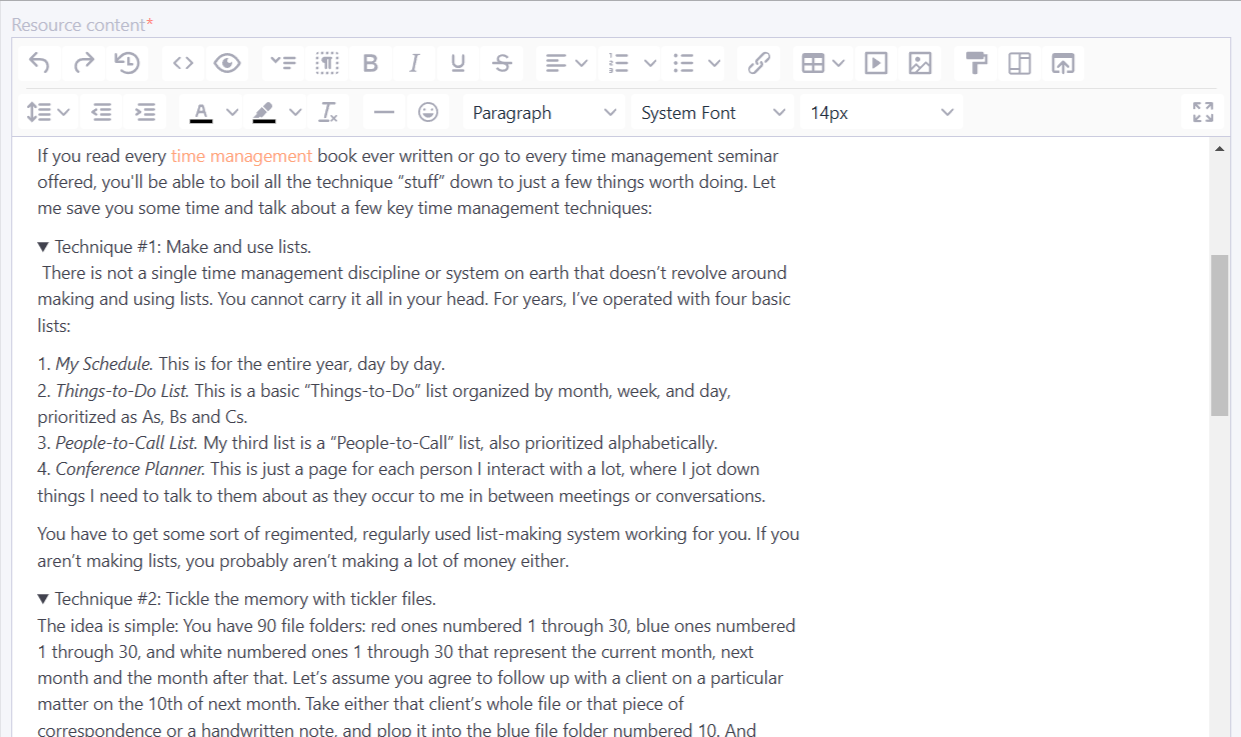
Display of the accordion when viewing the resource:
Preview
The portal administrator can view the Resource, i.e. see in advance how it will be displayed to the User.
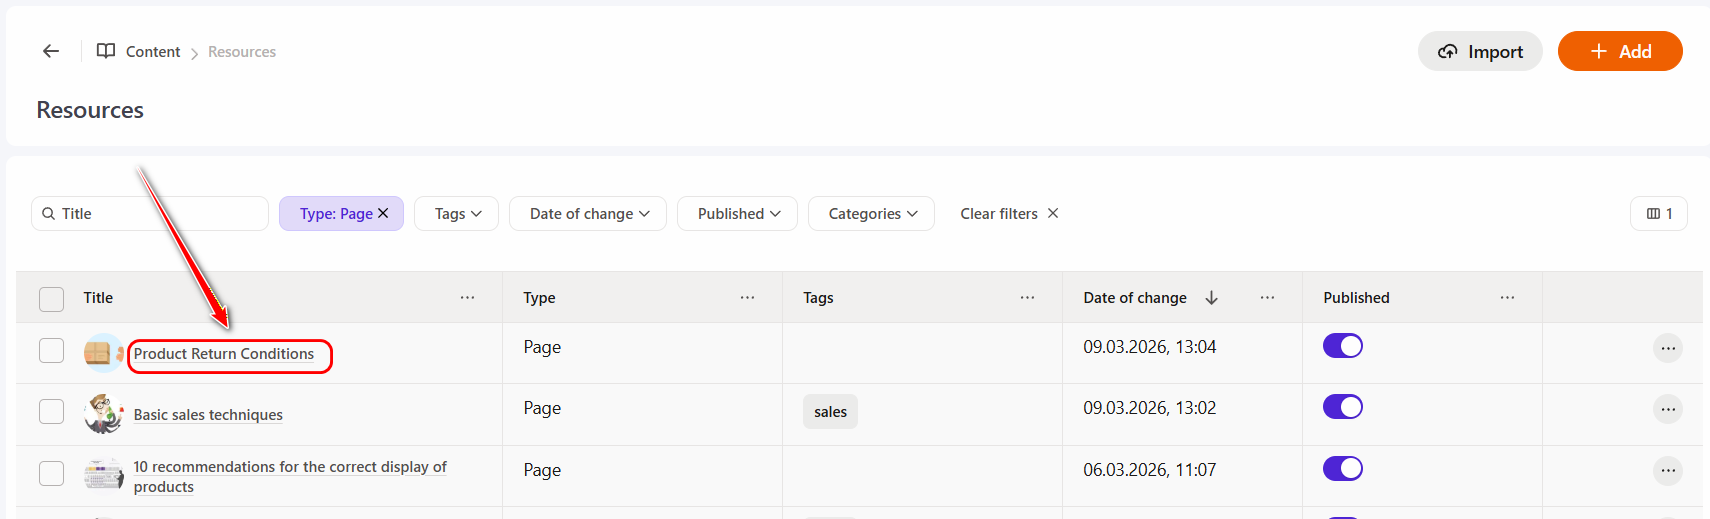
To do this, it is enough to click on the name of the Resource in the resource table (menu: Content - Resources).
Resource preview page:

(1) - Resource Name
(2) - Print (available by default for all resource pages. If necessary, you can disable the print function for resources on the portal - the action is performed by Technical Support upon request)
(3) - Edit - go to the Resource editing page.
(4) -About resource: Updated, Author, Category, Tags.
(5) - Full screen mode - the ability to view the contents of the Resource in full screen. (The button is not displayed for very short resources, with a height of less than 200px).