Video
The Collaborator system allows you to create video resources. There is support for the following video file formats:
- mp4, .mpg, .mov, .mkv, .ogv, .ogg, .flv, .avi, .webm.
Creating a video resource
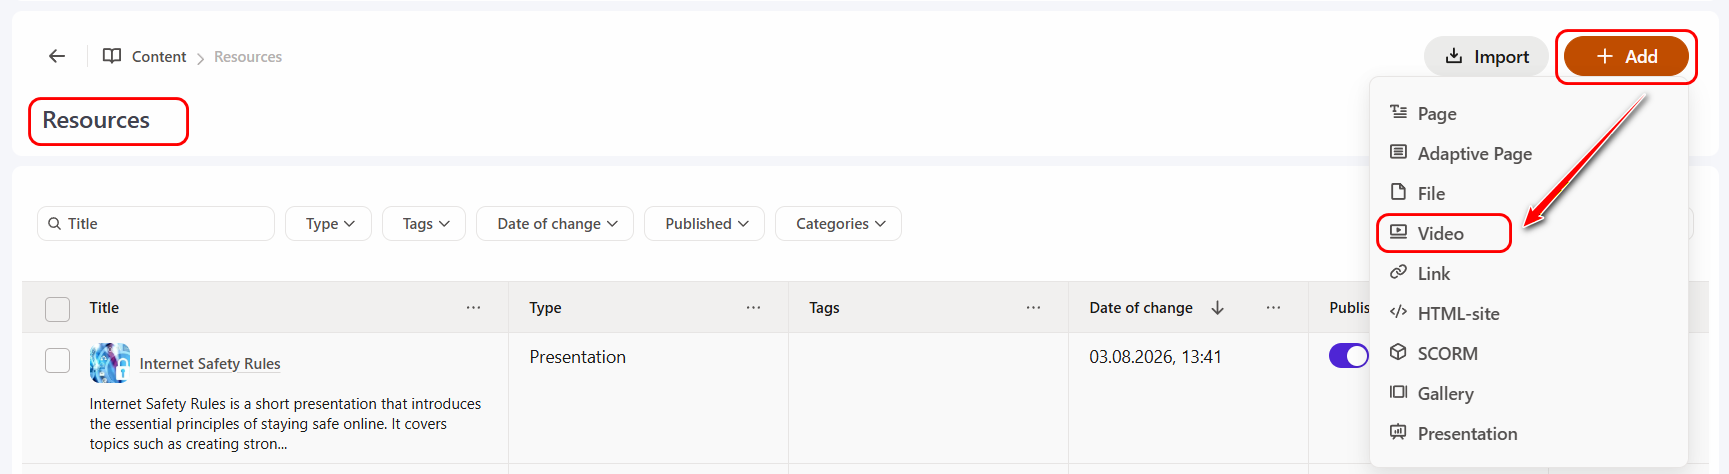
To create a video resource, click the Add button on the Resources page and select the resource type - Video:
After that, the new resource - file page creation will open:
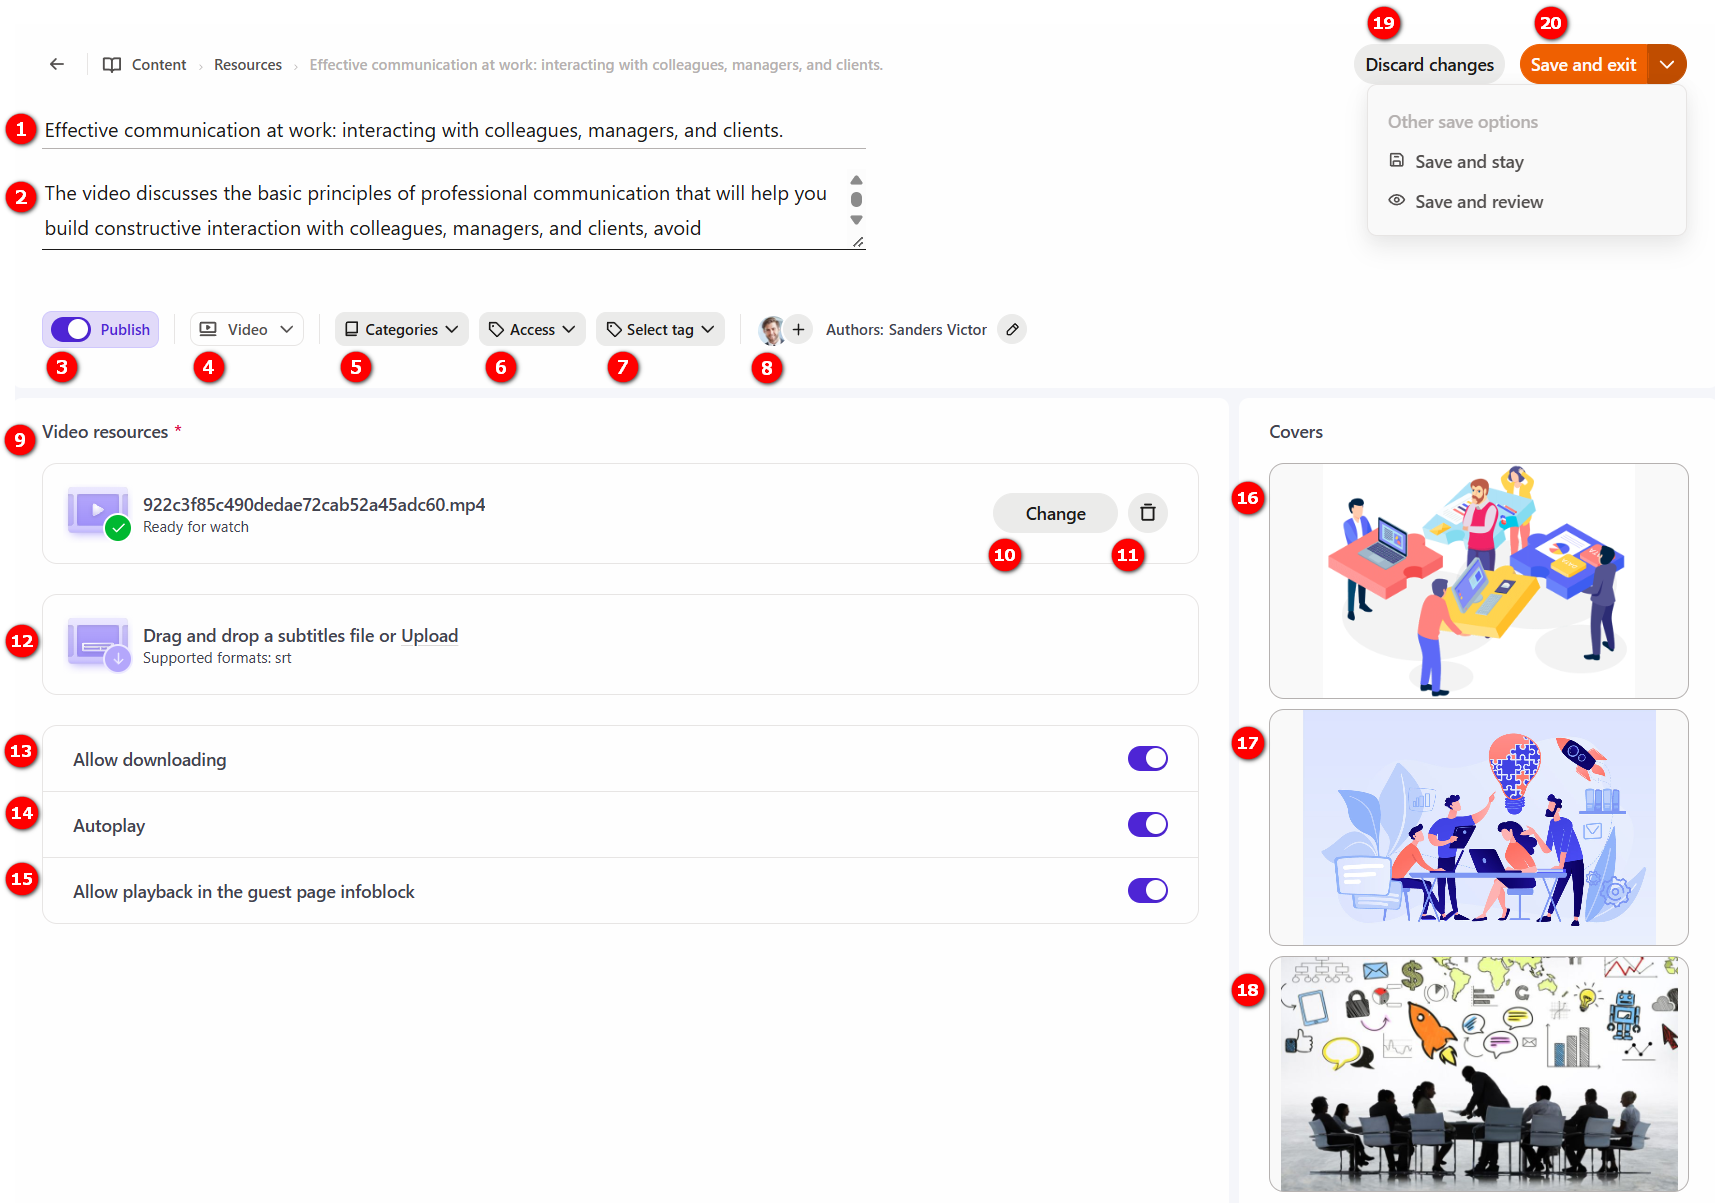
The following fields and settings are available for each resource:
(1) - Title – the name of the resource, the field is mandatory.
(2) - Description – brief information about the Resource, which is displayed in the table with resources. The description can use emoticons and the
tag to jump to a new feed;
(3) - Publish - by default, publication is disabled. Only published resources can be used in the Knowledge Base and for creating tasks.
(3) - Type – Video.
(5) - Categories - the ability to assign a resource to one or more categories in the Knowledge Base. To add a resource to a category, select the checkboxes for the desired categories in the drop-down list.
If the desired category is not in the list, you can create it by clicking the Create a new category button. More details: Resource Categories;

(6) - Access -defines the users to whom the resource in the Knowledge Base will be accessible. To do this, the resource must be added to one or more previously created access groups.
If the desired access group is not among the already created groups, you can create it by clicking the Create a new access group button. More details: Knowledge Base Management.

(7) - Select tag - if necessary, set a tag for the resource. You can select a tag from the already created ones in the drop-down list or by searching. More details: Tag management.
(8) - Authors by default, the user who created the resource is displayed. If necessary, you can change the author or add co-authors. More details: Content authors and co-authors
(9) - Video resources - you need to upload a video file.
The file may take some time to download, depending on the file size. The download progress is displayed in real time:

If the uploaded video is longer than 30 minutes, the administrator will see a notification when viewing it:
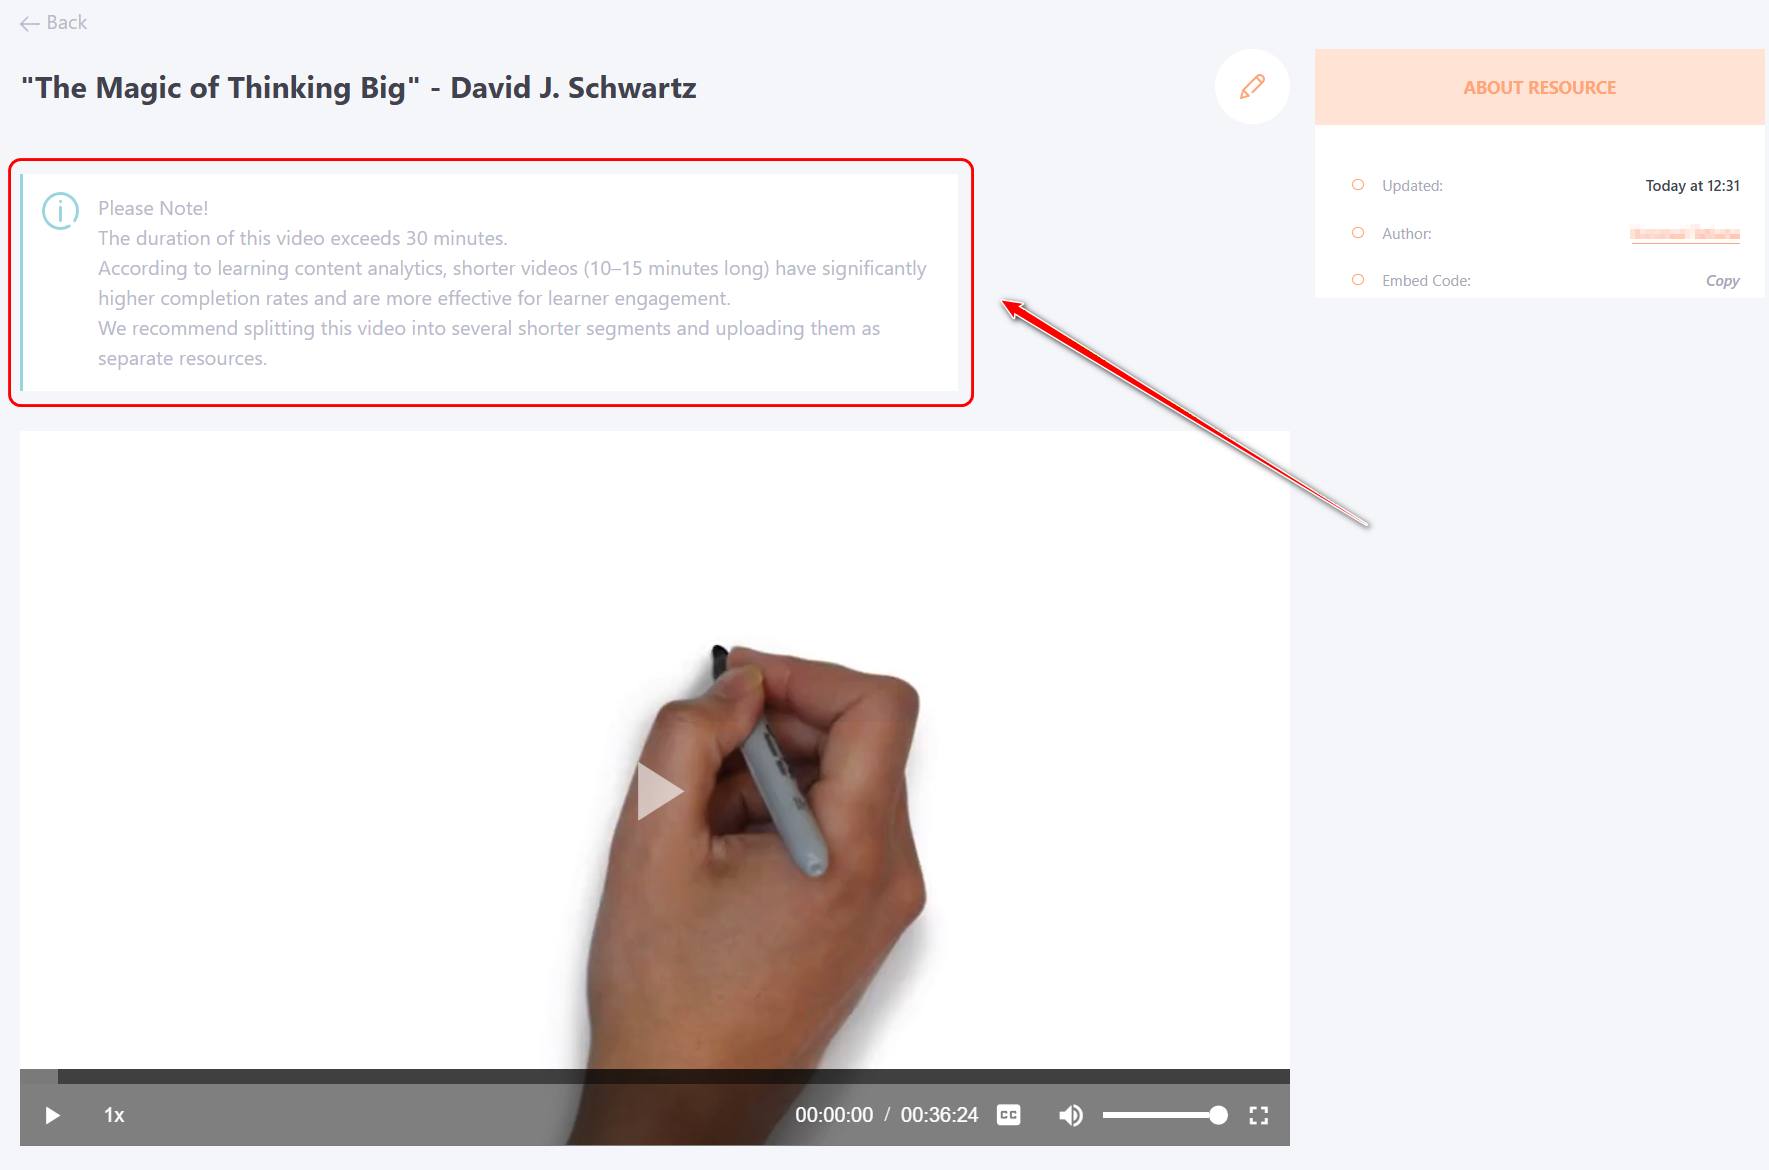
This message is advisory and is displayed only for the administrator.
It will not be displayed to users while completing the task.
(10) - Change - the ability to upload another file.
(11) - Remove the uploaded file.
(12) - Subtitles - the ability to download subtitles to the video in SRT format.
An example of a website for creating subtitles:
http://subworkshop.sourceforge.net/download.php
If subtitles are uploaded for the video, it is possible to turn them on or off:

(13) - Allow downloading - if the setting is enabled, users will be able to download the resource - file.
(14) - Autoplay - if enabled, the video starts playing immediately after the user opens the resource. By default, the option is disabled.
(15) - Allow playback in the guest page infoblock - if enabled, this video will be displayed on the login page of the learning portal. By default, the option is disabled.
(16) - Video cover - the ability to upload a cover image for the video.
Allowed formats: jpg, png, jpeg, gif, svg, webp.
(17) - Resource cover - the ability to upload a cover image instead of the standard one.
Example of displaying standard and uploaded images in the Knowledge Base:


(18) - Image for task card - the ability to upload a cover image for the task-resource instead of the standard one.
Example of displaying standard and uploaded images on a task card in the catalog:
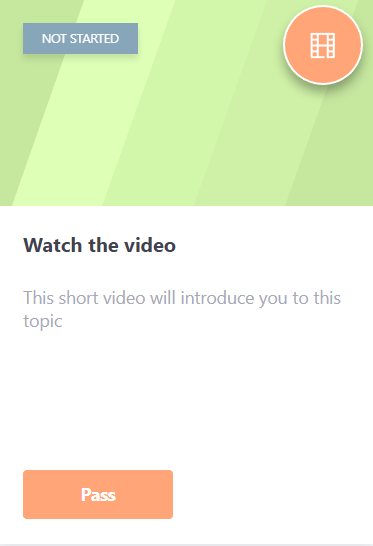 |
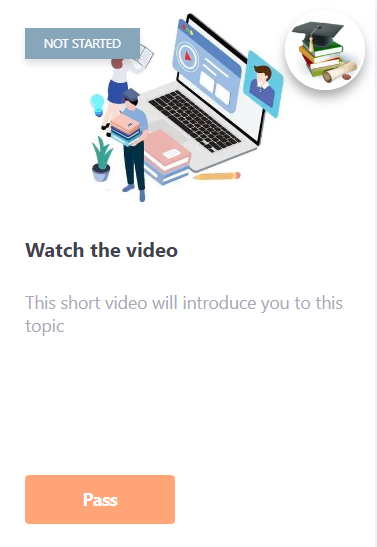 |
(19) - Discard changes - cancels changes that have not yet been saved. After clicking the "Save" button, it is impossible to cancel changes using this button.
(20) - Save and exit – save changes and navigate to the Resource table page, this button is displayed by default.
The following actions are also available:
- Save and stay – save changes and remain on the resource editing page;
- Save and preview – save changes and navigate to the resource Preview page.
The system remembers the last option selected for the "Save" button and automatically displays it the next time the page is opened.
Video-resource embed code
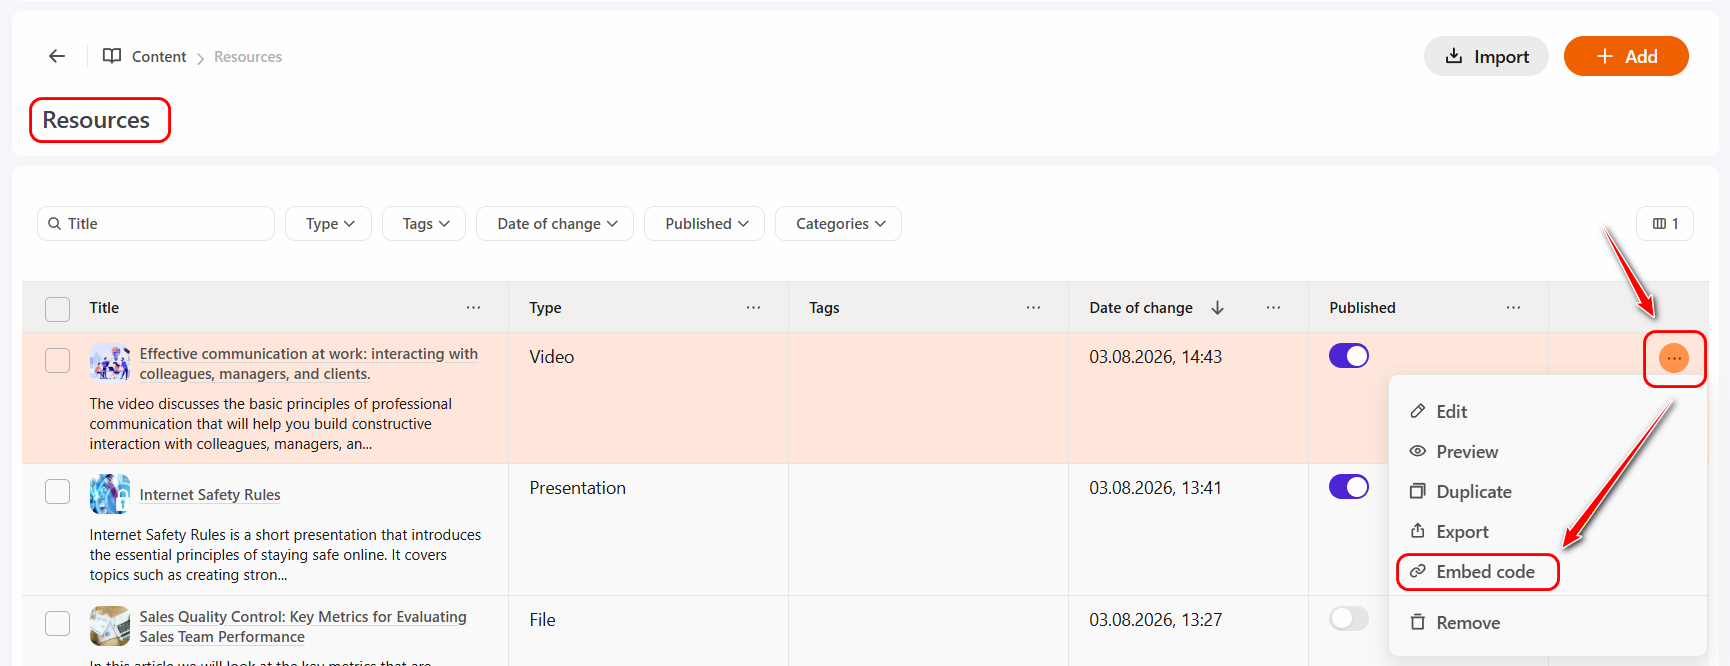
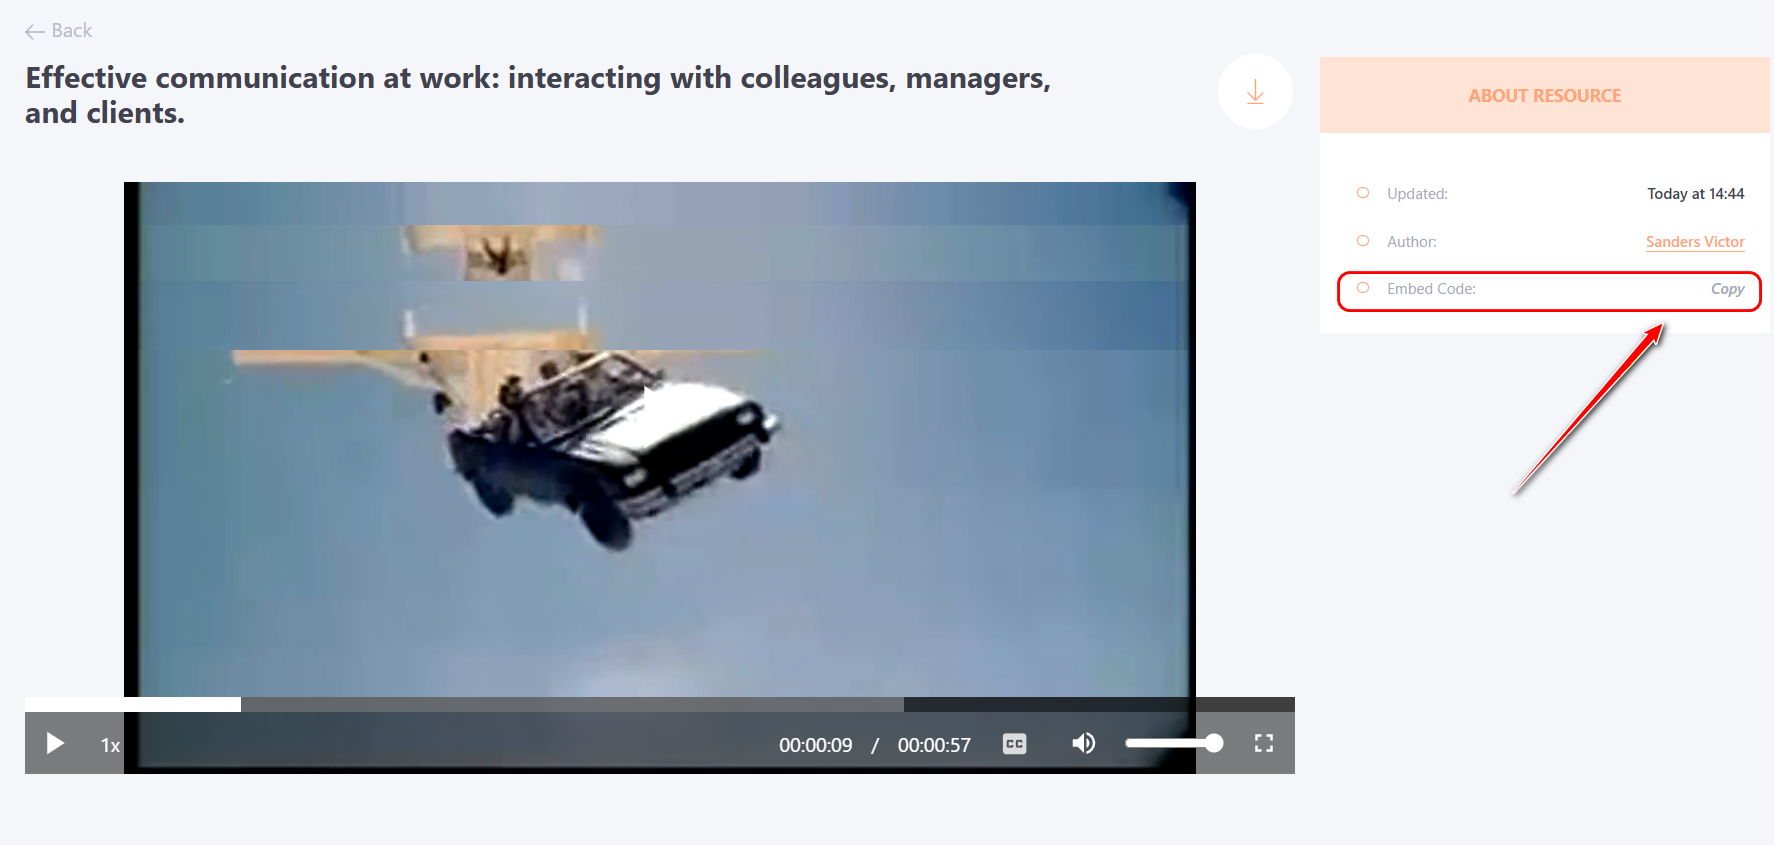
After saving the video, the Embed code option becomes available, which allows you to copy the code of this video to insert it into a resource such as a Page, News, or Advertisement. More details: Insert resource with embed code).
You can copy the embed code in the following ways:
1.In the resource table, next to the desired video resource, click the Actions button and select Embed code:
- When viewing a video resource in the About resource block:
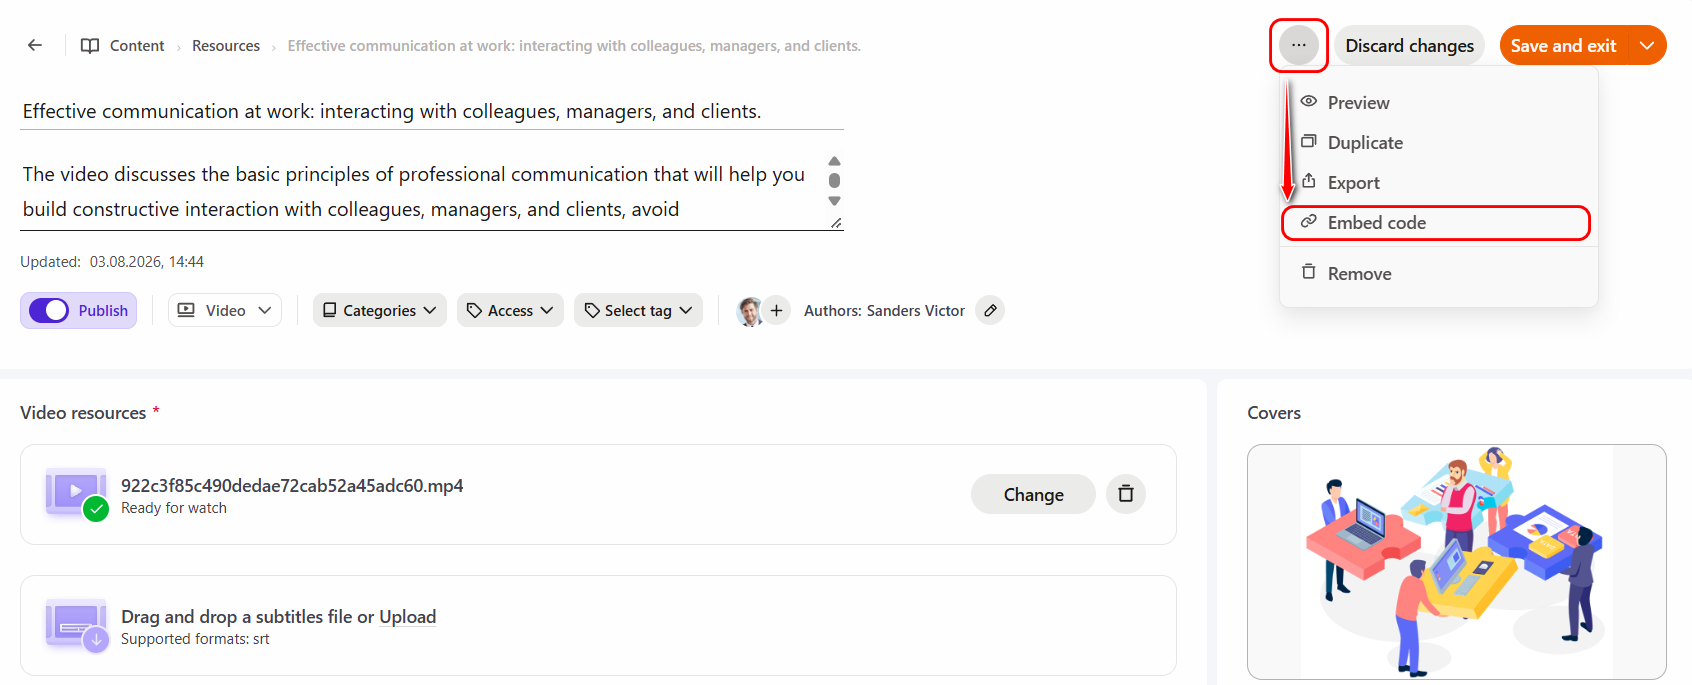
- When editing a resource, when clicking the Actions button, select Embed code:
Video conversion
After saving and publishing a video resource, all types of video files are automatically converted to mp4 format. Conversion takes place once after the first save (it may take a few minutes, depending on the size of the video).
During conversion, a copy of the video with a lower bitrate is created for playback on mobile devices, and a copy is converted to the IOS format.

After conversion, the resource is available for viewing.
When watching a video resource on a PC, you can use the left-right keys to rewind the video or press the space bar to stop or start playback.