Adding Users manually
Administrator with rights edit other users (подробнее тут: Roles in the system.) can add new users to the system.
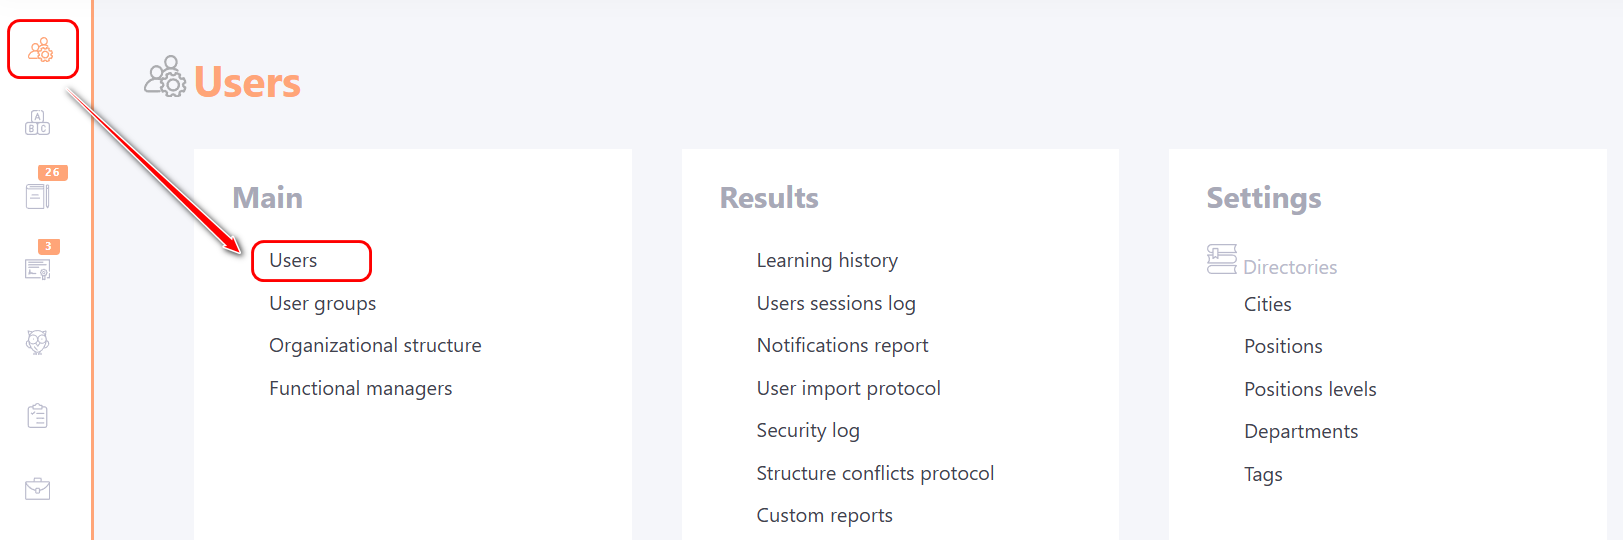
To do this, you need to go to the Users-Users menu:
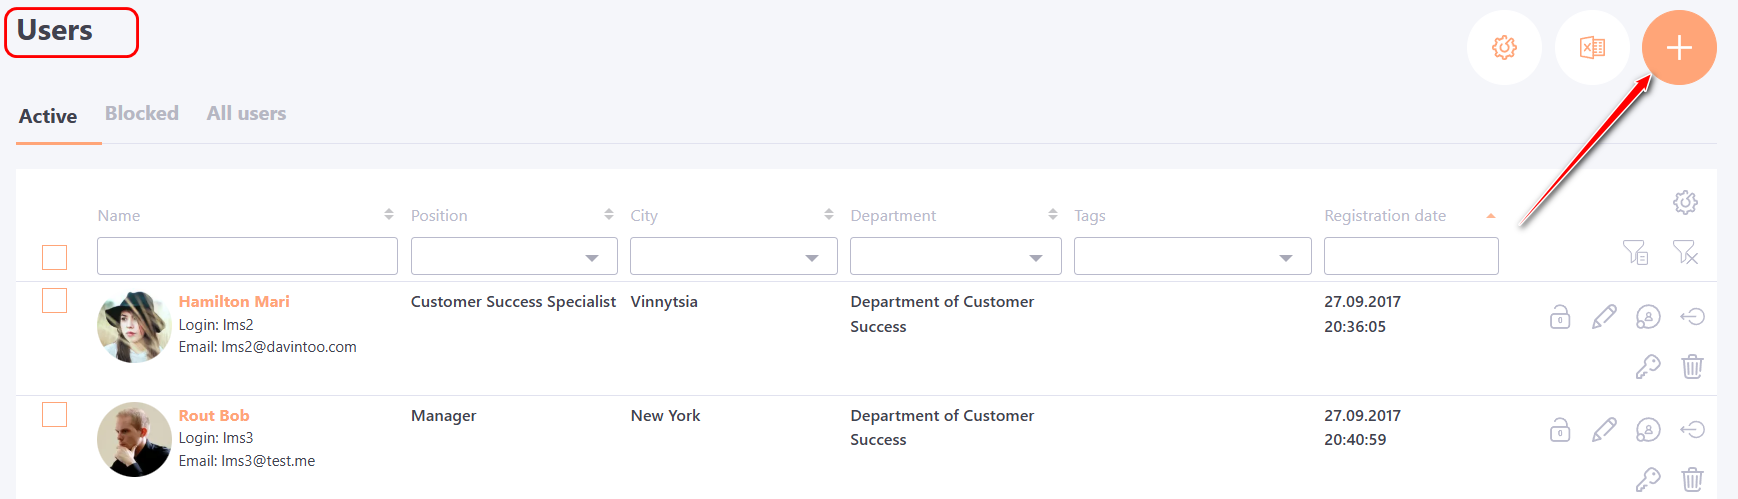
On the Users page, click the Add user button:
The form for creating a New User will open.
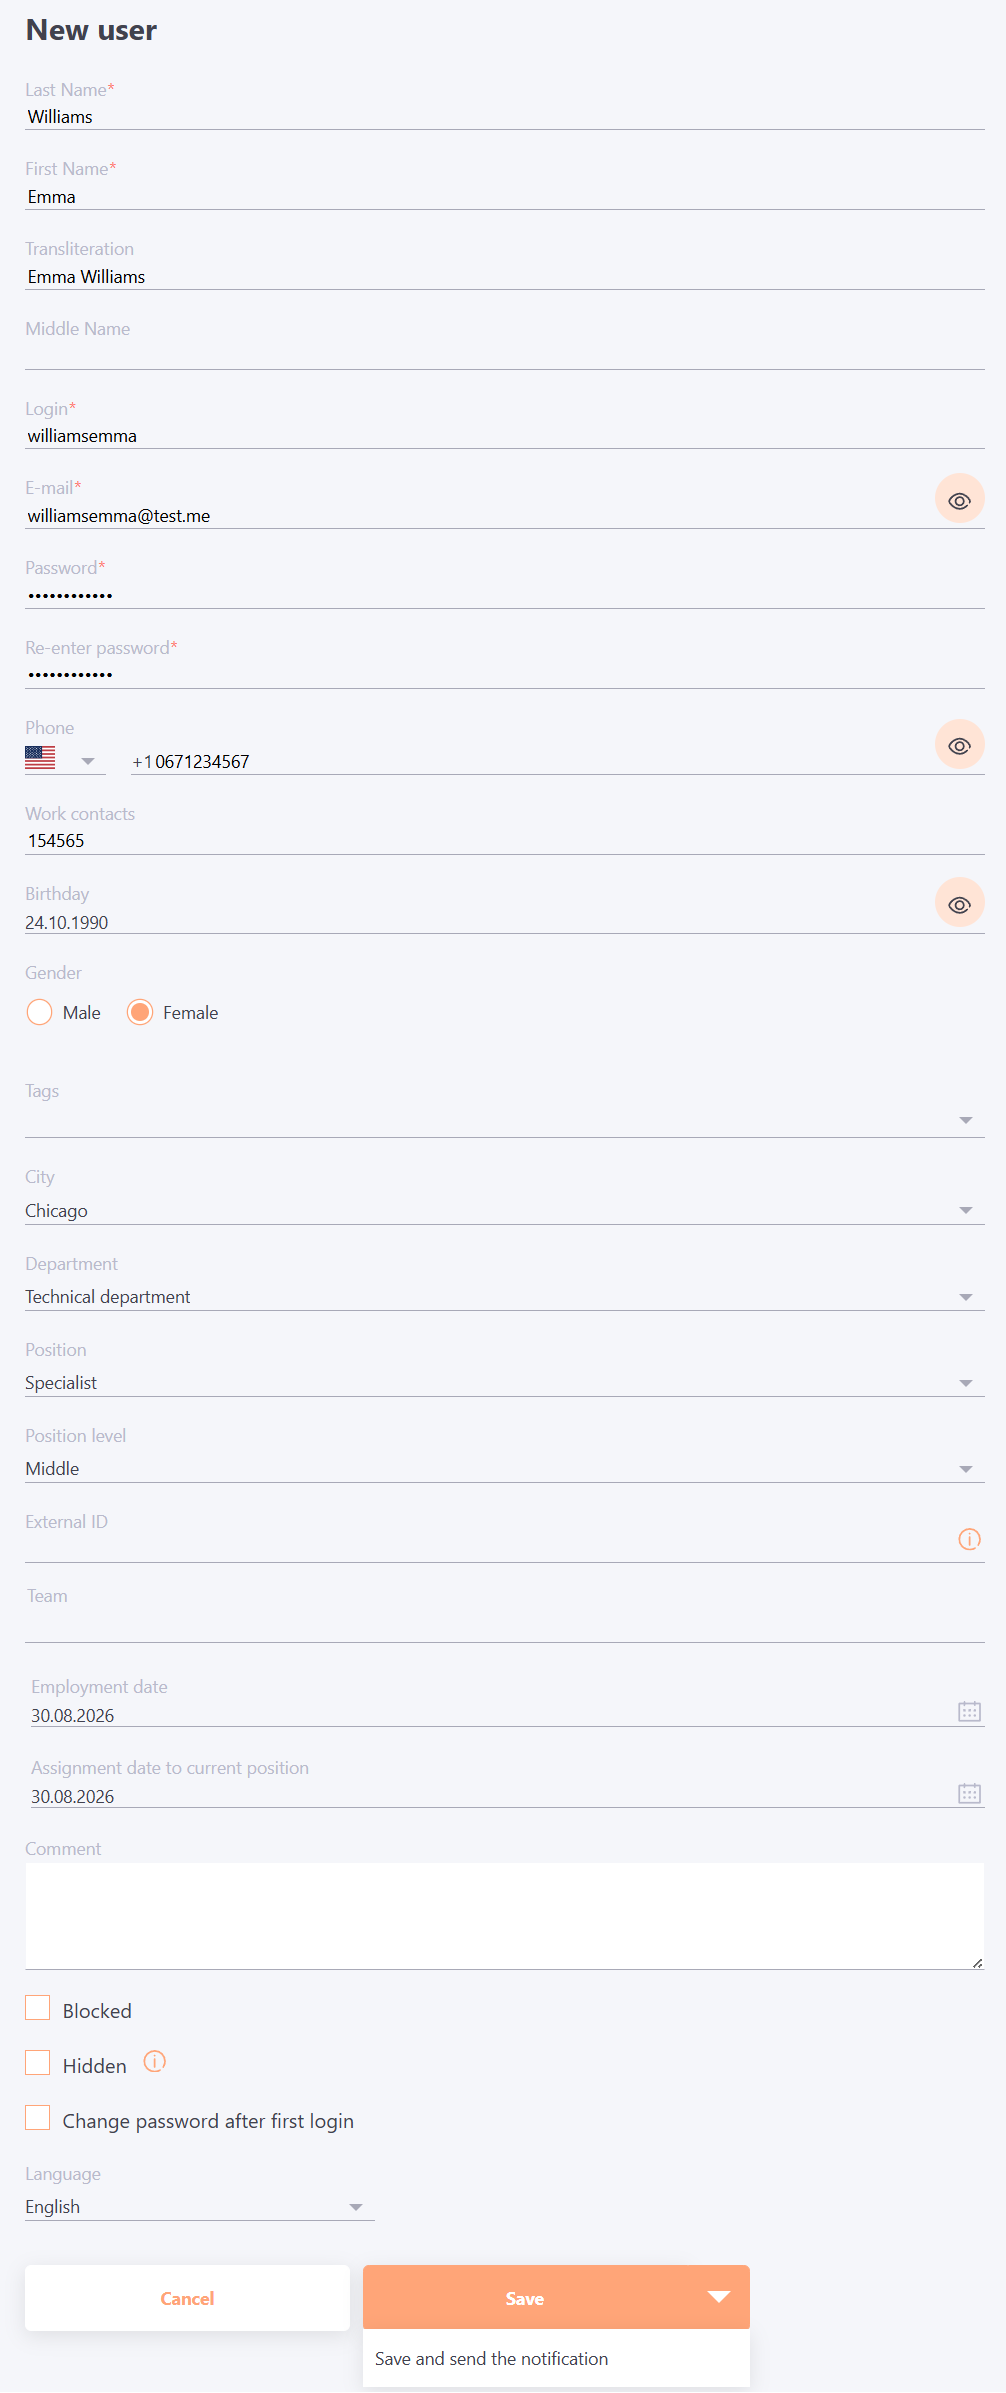
To register a new user, all the required fields in the form must be filled (marked with *) :
- Last Name;
- First Name;
- Login;
- E-mail;
- Password;
- Re-enter password.
Also, in the form for creating a new user, it is possible to specify additional data:
- Transliteration - the correct writing of user`s last and first name.
- Middle name - user's middle name.
- Phone - user's mobile number.
- Work contacts - user's work contacts.
- Birthday - if specified, the employee receives a notification with a birthday greeting, and his colleagues a reminder of this. (Read more here - Birthdays)
- Gender - select the user's gender.
- Tags - tags for separating Users into groups, for additional marks, search. Automatically created when filling in this field.
- City - the User attribute, the name of the city where the user works, or another value. It is selected from the drop-down list of previously created Cities.
- Department - is selected from the drop-down list of previously created Departments.
- Position - is selected from the drop-down list of previously created Positions.
- Position level - if applicable, indicate the position level.
- External ID is a unique identifier of a worker, which is used for data synchronization (more details here: Synchronization using CSV).
- Team - an additional field in the registration form, which is configured with the help of Collaborator system technical support.
- Employment date - the date when the employee was hired by the company.
- Assignment date to current position - date of appointment to the current position.
- Comment - a text field that is available for viewing in the user card to the administrator (with the permission "view information about other users").
- Blocked - a checkbox for blocking a user. A blocked user will not be able to log in to the portal.
- Hidden - a checkbox to mark a user as hidden from other users. If the checkbox is activated, the user will not appear in contacts, birthdays, forum, chats, selection of curator while creating Personal task in PDP, selection of mentor in requests for career development. In the list of MBO assignments and work tasks, only the administrator can see this user.
- Change password after first login - if the checkbox is checked, the user will be required to change their password after the first login to continue working on the portal. This option may be necessary for account security and protection.
If the setting Change password after first login was enabled in Passwords policy, then when a new user is created, this setting is automatically activated (checkbox is checked). The value of this setting can be changed for an individual user using the corresponding checkbox in the registration form.
If the setting Disable ability of password recovery was enabled in Passwords policy the Change password after first login field will not be displayed.
- Language selection - from the drop-down list, you need select the portal language for the user.
After filling in all the fields, you need to save the new user in one of the following ways:
-
Save - the data will be saved, after which the Users page will open with a list of registered users. On this page, you can send the user an E-mail with login details.
-
Save and send tne notification - the data will be saved, and the user will automatically be sent a notification using the template Users - Registration complete.
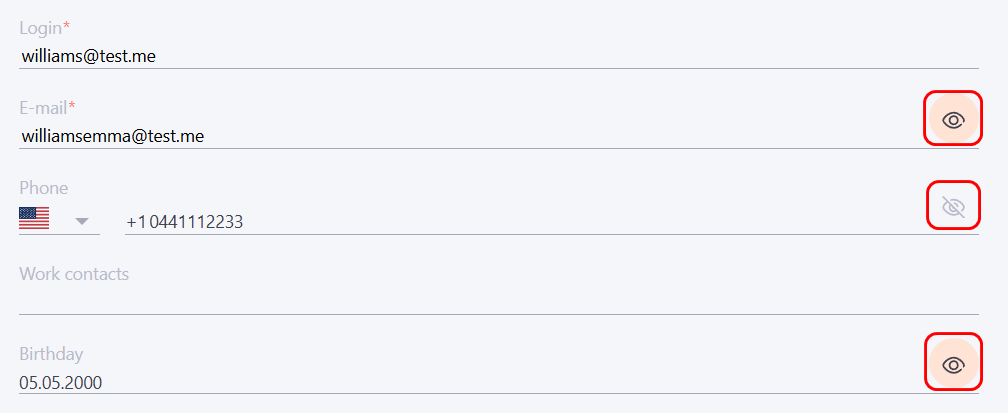
Information from the E-mail, Phone and Birthday fields can be hidden from viewing by other system Users. If the information is open, it is displayed for all portal Users on the Contacts page.
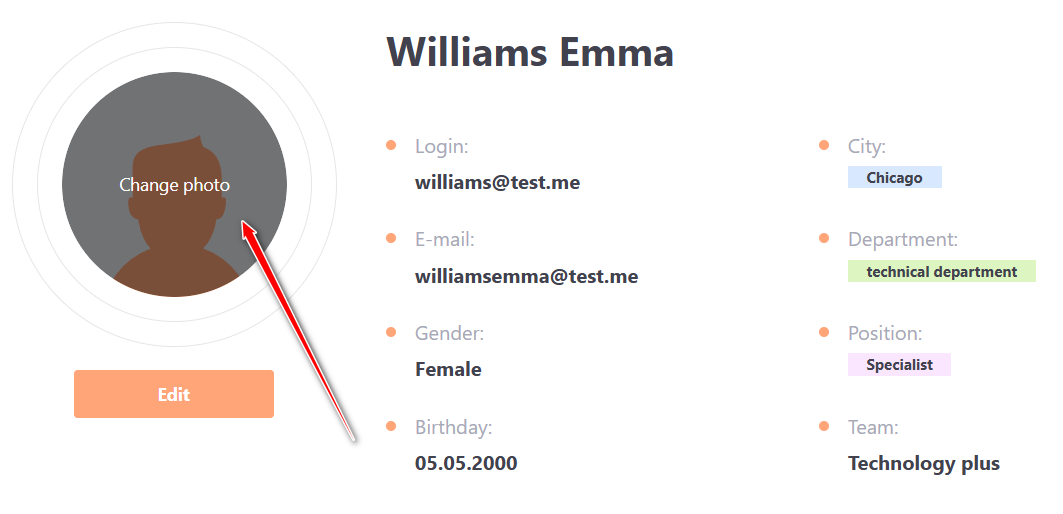
After saving the account it can be add, change, or remove the user’s photo on the profile page.
To add or change the photo, click Change photo in the avatar area and upload the desired image or drag and drop it into the designated area.
The minimum image size is 512x512.