Integration with Slack
Creating a new app
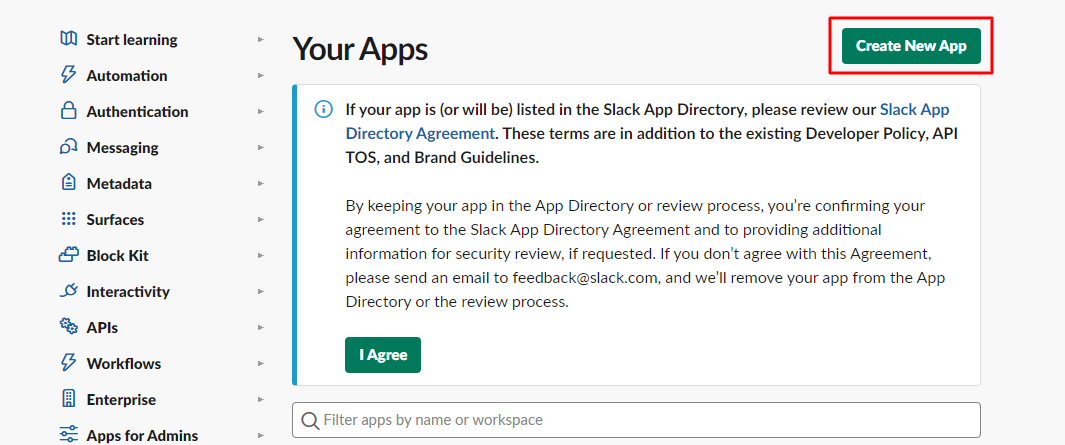
To create a bot, you need to log in to Slack, go to https://api.slack.com/apps and click the button Create New App:
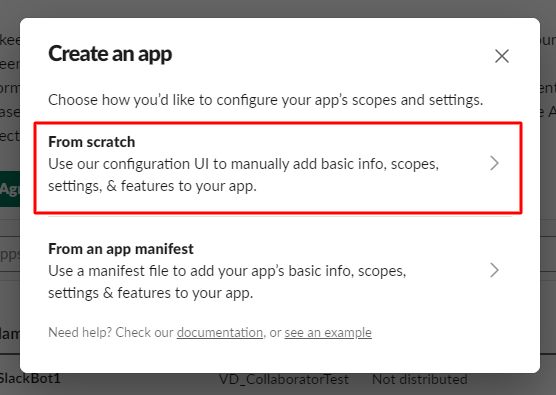
In the modal window, select From scratch:
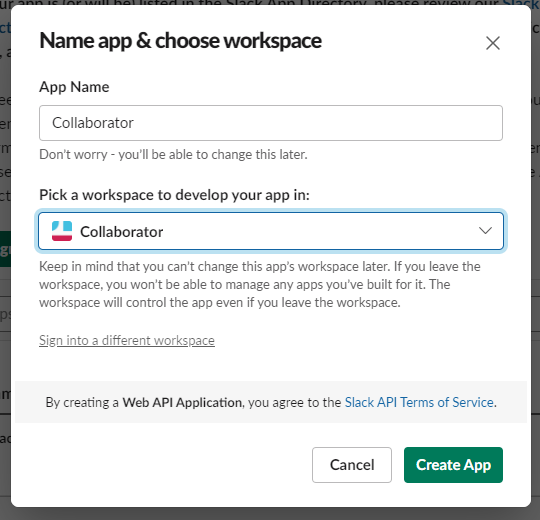
Next, you need to give the bot a name and select the workspace it will operate in. Then click the button "Create App":
Granting permissions and configuration
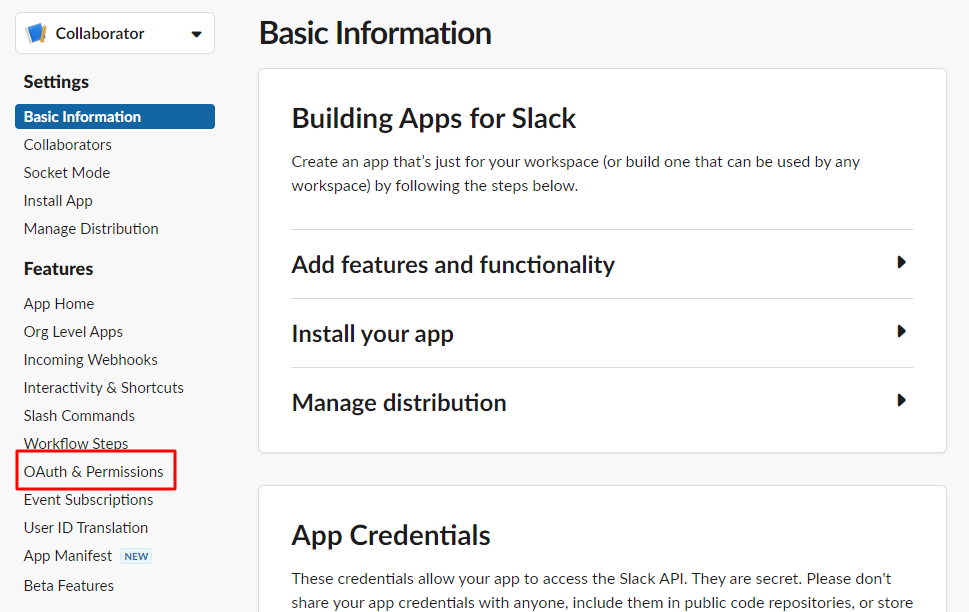
After creating the bot, you need to grant it permissions and configure it. From the Basic Information page, go to OAuth & Permissions:
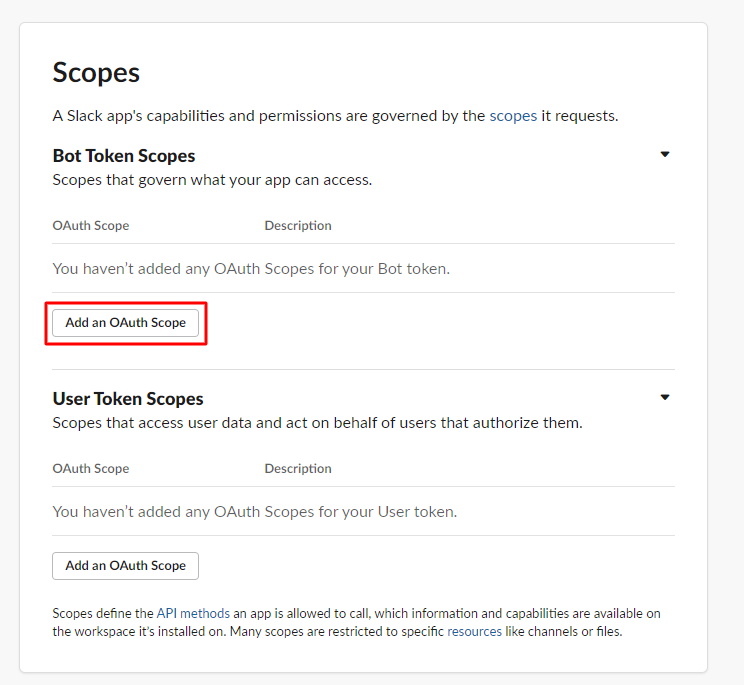
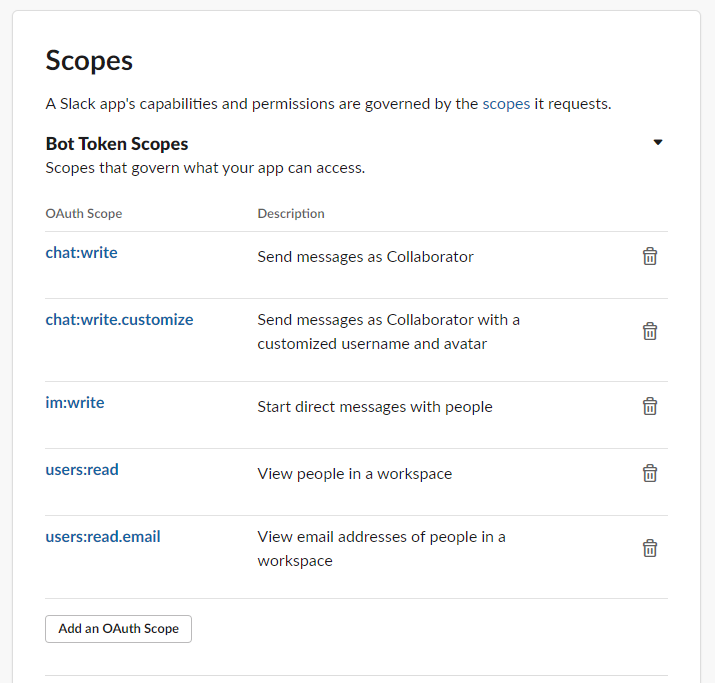
We go down to the Scopes block, where we need to add the following permissions:
- chat:write
- chat:write.customize
- im:write
- users:read
- users:read.email
After that, go to the App Home tab, where you need to enable the Always Show My Bot as Online option (this option is not required, but we recommend enabling it):

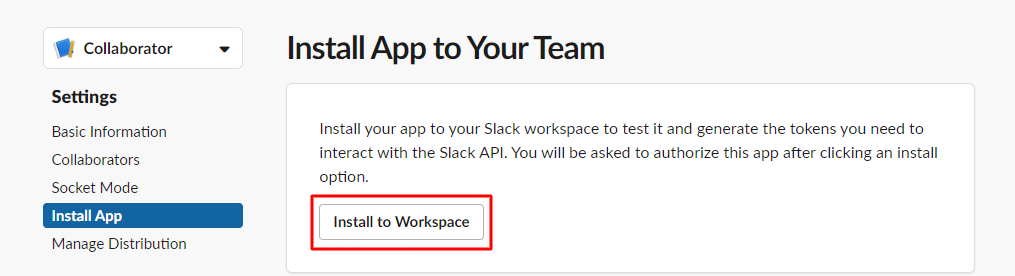
Installing the application
After the settings, go to the Install App tab and click on the Install to Workspace: button
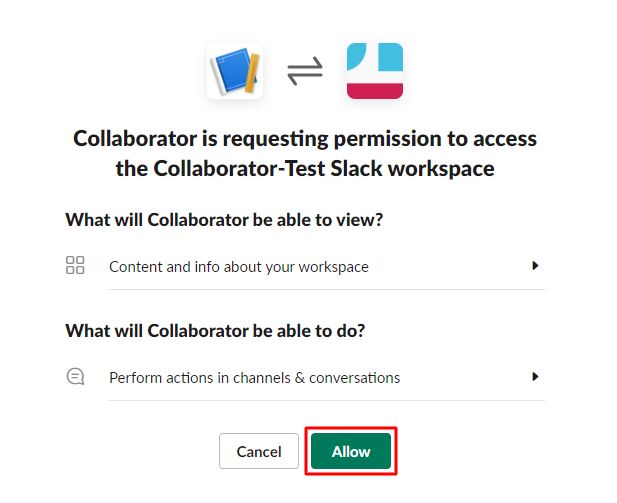
Next, you need to grant access to your workspace:
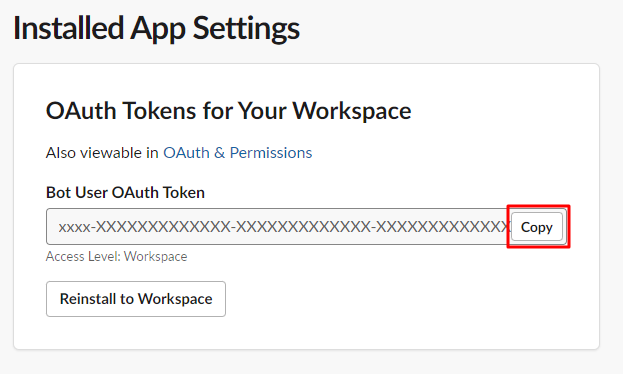
After that, the Bot User OAuth Token will become available, which must be copied and registered in the Collaborator system:
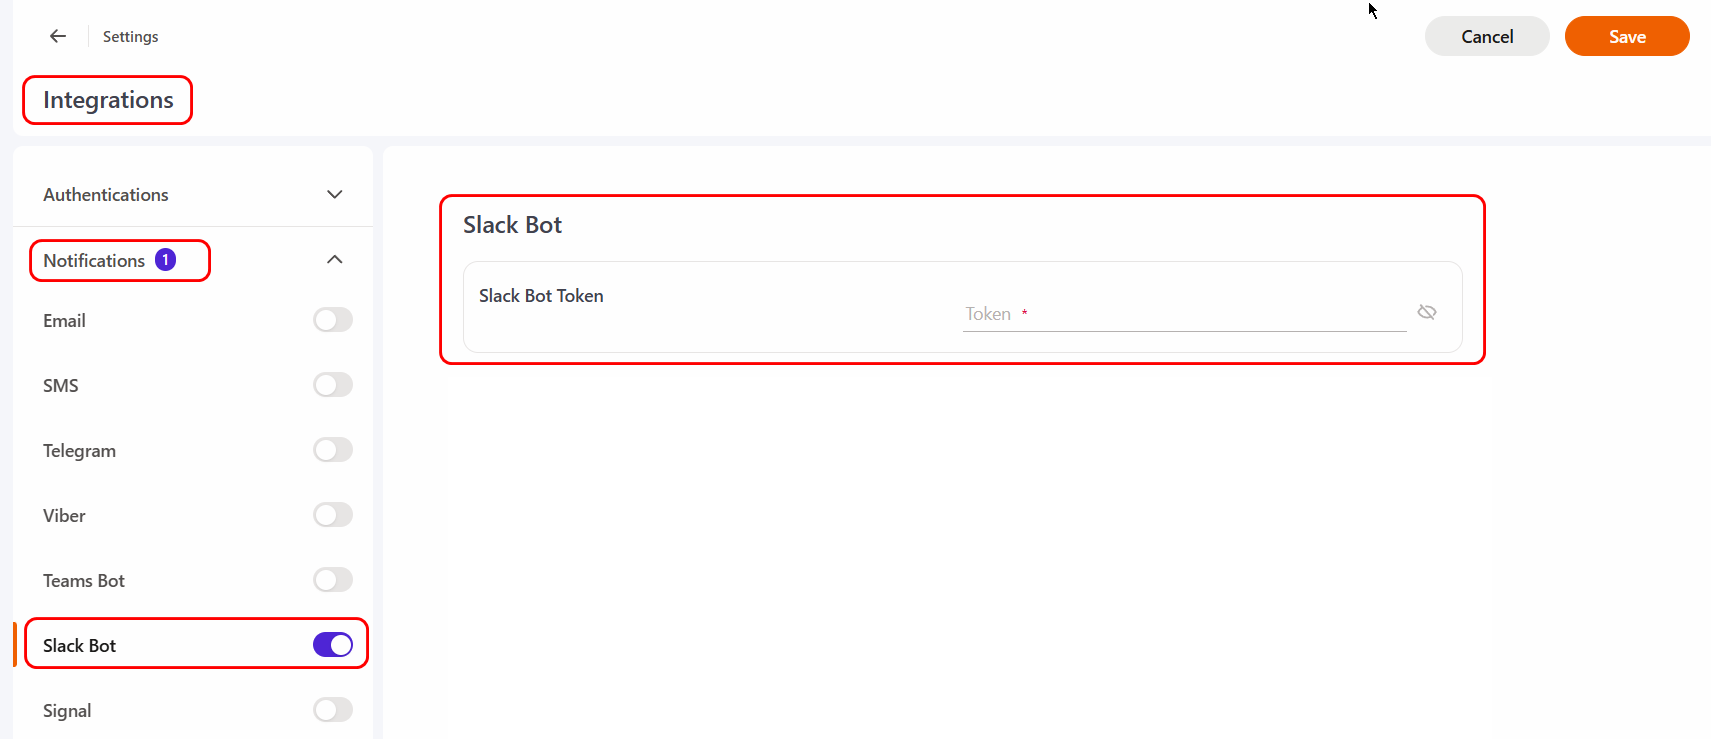
Configuring portal integration with Slack bot
To configure integration with the Slack bot, go to the System Settings - Integrations menu on the Integrations List page in the Notifications section enable the slider in the Slack bot item and paste the copied Bot User OAuth Token into the Slack Bot Token field:
After connecting the bot to the portal, users will be able to enable sending messages to the Slack bot in their profile Notifications Menu.